
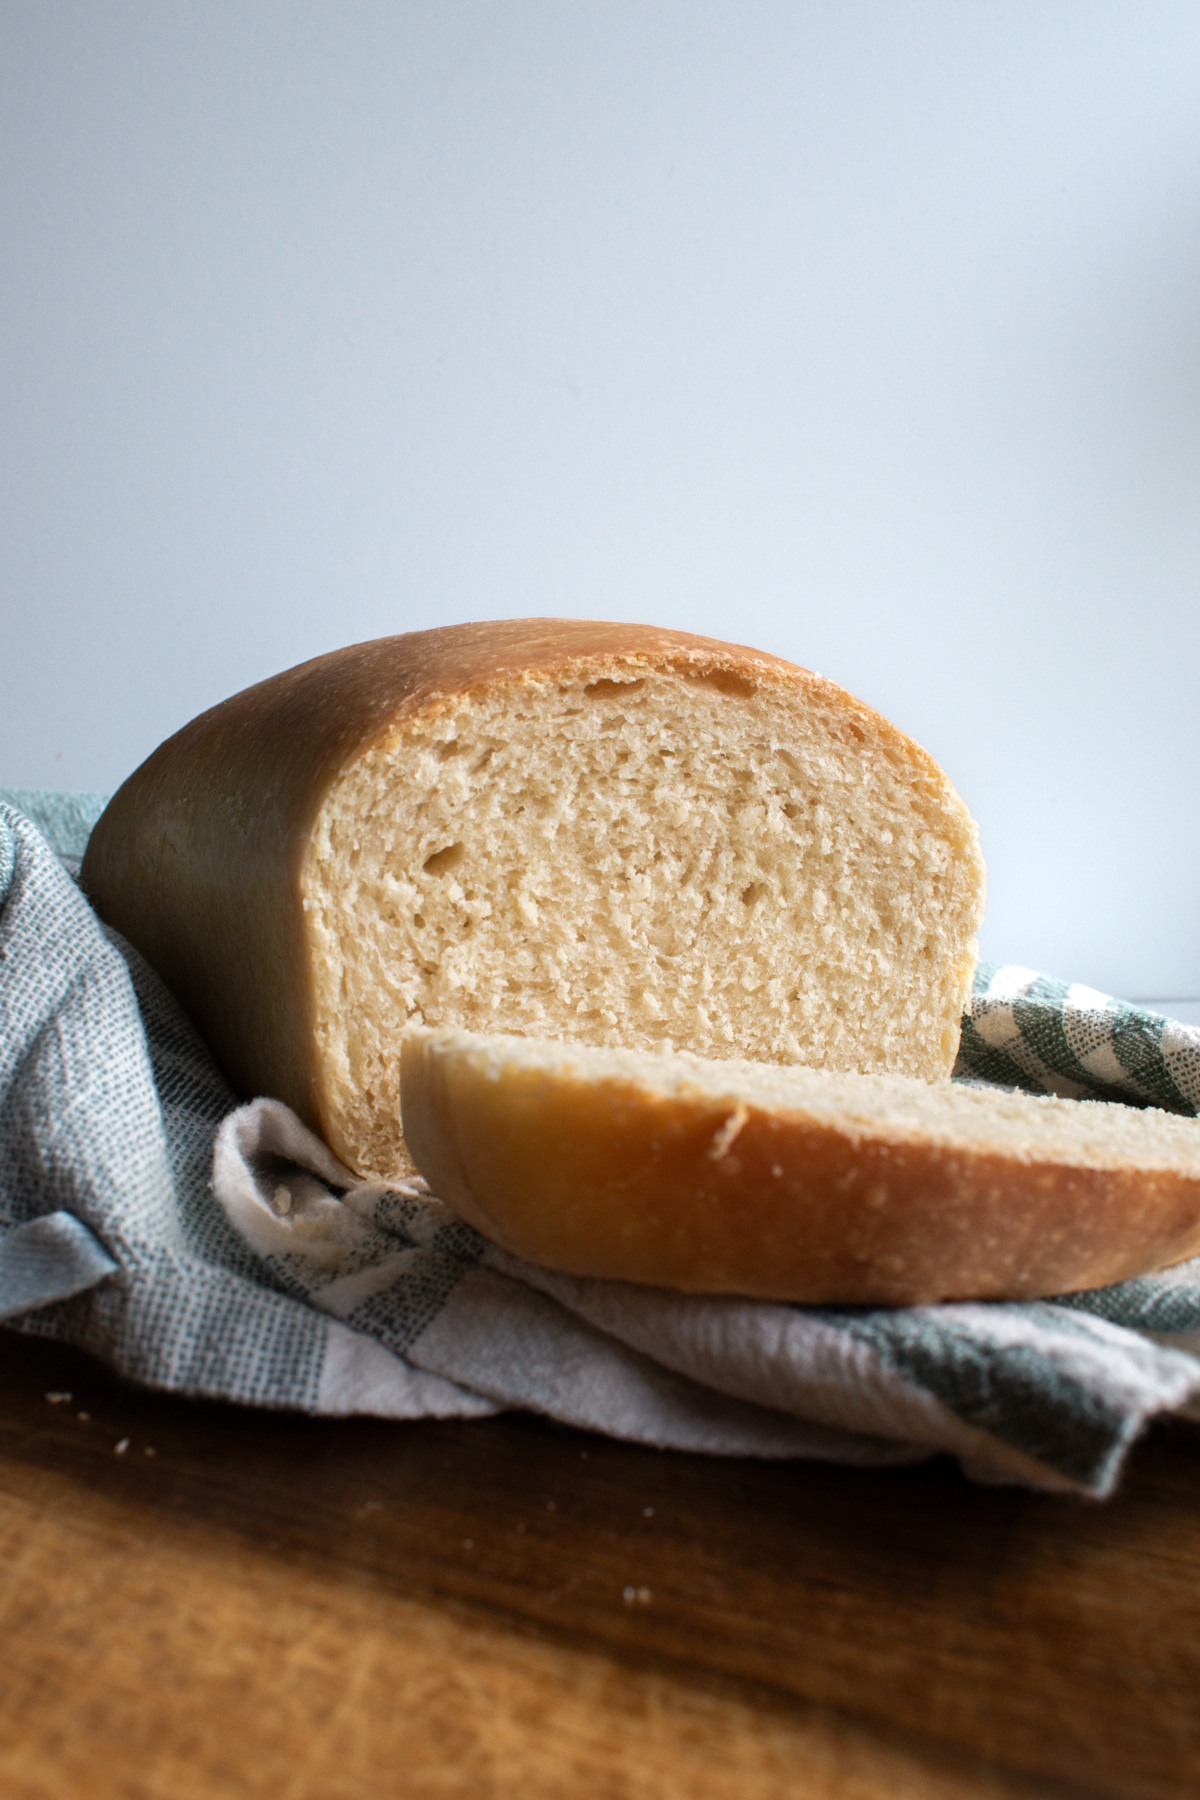
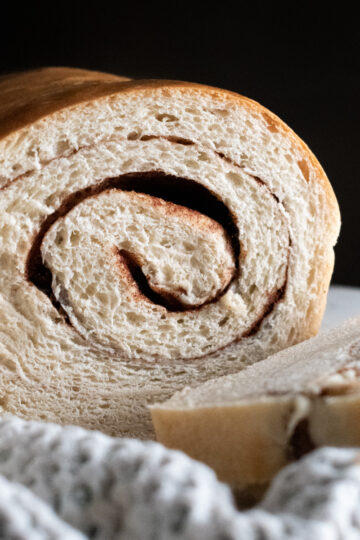
This is, hands down, the best sourdough sandwich bread you will ever make. So many sourdough loaves come out dry and dense — nothing like the soft, sliceable sandwich bread I grew up loving.
If you love a good discard loaf too, try my quicker sourdough discard sandwich bread, and once you have a loaf, it makes the most incredible sourdough French toast.
Quick Look: Sourdough Sandwich Bread
⏱️ Ready In: About 13 hours (mostly hands-off overnight proofing)
🔥 Bake Time: 40–50 minutes
🍽️ Serves: 12 slices (one 9x5 loaf)
🥄 Main Ingredients: Flour, active sourdough starter, butter, milk powder
✨ Calories: Approximately 256 per slice
🌿 Dietary Info: Vegetarian
💛 Why You'll Love It: A soft, buttery, naturally leavened sandwich loaf that stays soft for days.
SUMMARIZE & SAVE THIS CONTENT ON
Why You'll Love This Recipe
- Soft and stays soft: Unlike most sourdough sandwich loaves, this one is pillowy and only gets softer in the days after baking.
- Naturally leavened: No commercial yeast — just an active sourdough starter for flavor and gut-friendly benefits, like my chewy sourdough discard bagels.
- The best of both worlds: The soft texture of white bread with the tang of sourdough.
- Perfect for everything: Sandwiches, toast, PB&J, and the best sourdough French toast or pumpkin French toast.
- Mostly hands-off: The long overnight proof does the work while you sleep.
Ingredients
- all-purpose flour: The structure of the soft, sliceable loaf.
- active sourdough starter: Fed and bubbly (it should pass the float test) — this leavens the bread naturally.
- softened butter: For a rich, tender, soft crumb.
- milk powder: Adds softness and a subtle richness, like a bakery sandwich loaf.
- sugar + salt: For flavor and to control the fermentation.
- warm water: Brings the soft dough together.
See the recipe card for quantities.
Easy Substitutions & Variations
- Salted butter: Works fine — just reduce the added salt by a couple of grams (to about 10g). Don't skimp too much, though; under-salted bread is bland.
- Want it faster? Try my sourdough discard sandwich bread or same-day sourdough dinner rolls when you don't have time for the overnight proof.
- Cinnamon swirl: Roll a cinnamon-sugar filling into the shaped loaf, like my sourdough discard cinnamon swirl bread.
- Make it a spread: Serve alongside chewy sourdough discard ciabatta rolls for a whole bread basket.
How to Make Sourdough Sandwich Bread
Note: I bake by weight for accuracy. Cup measurements are approximate and may vary depending on how you scoop.
Step 1: Prep the starter: The morning before you bake, feed your starter at 100% hydration so it has time to get bubbly. It's ready when it has doubled and passes the float test (a small spoonful floats in warm water).
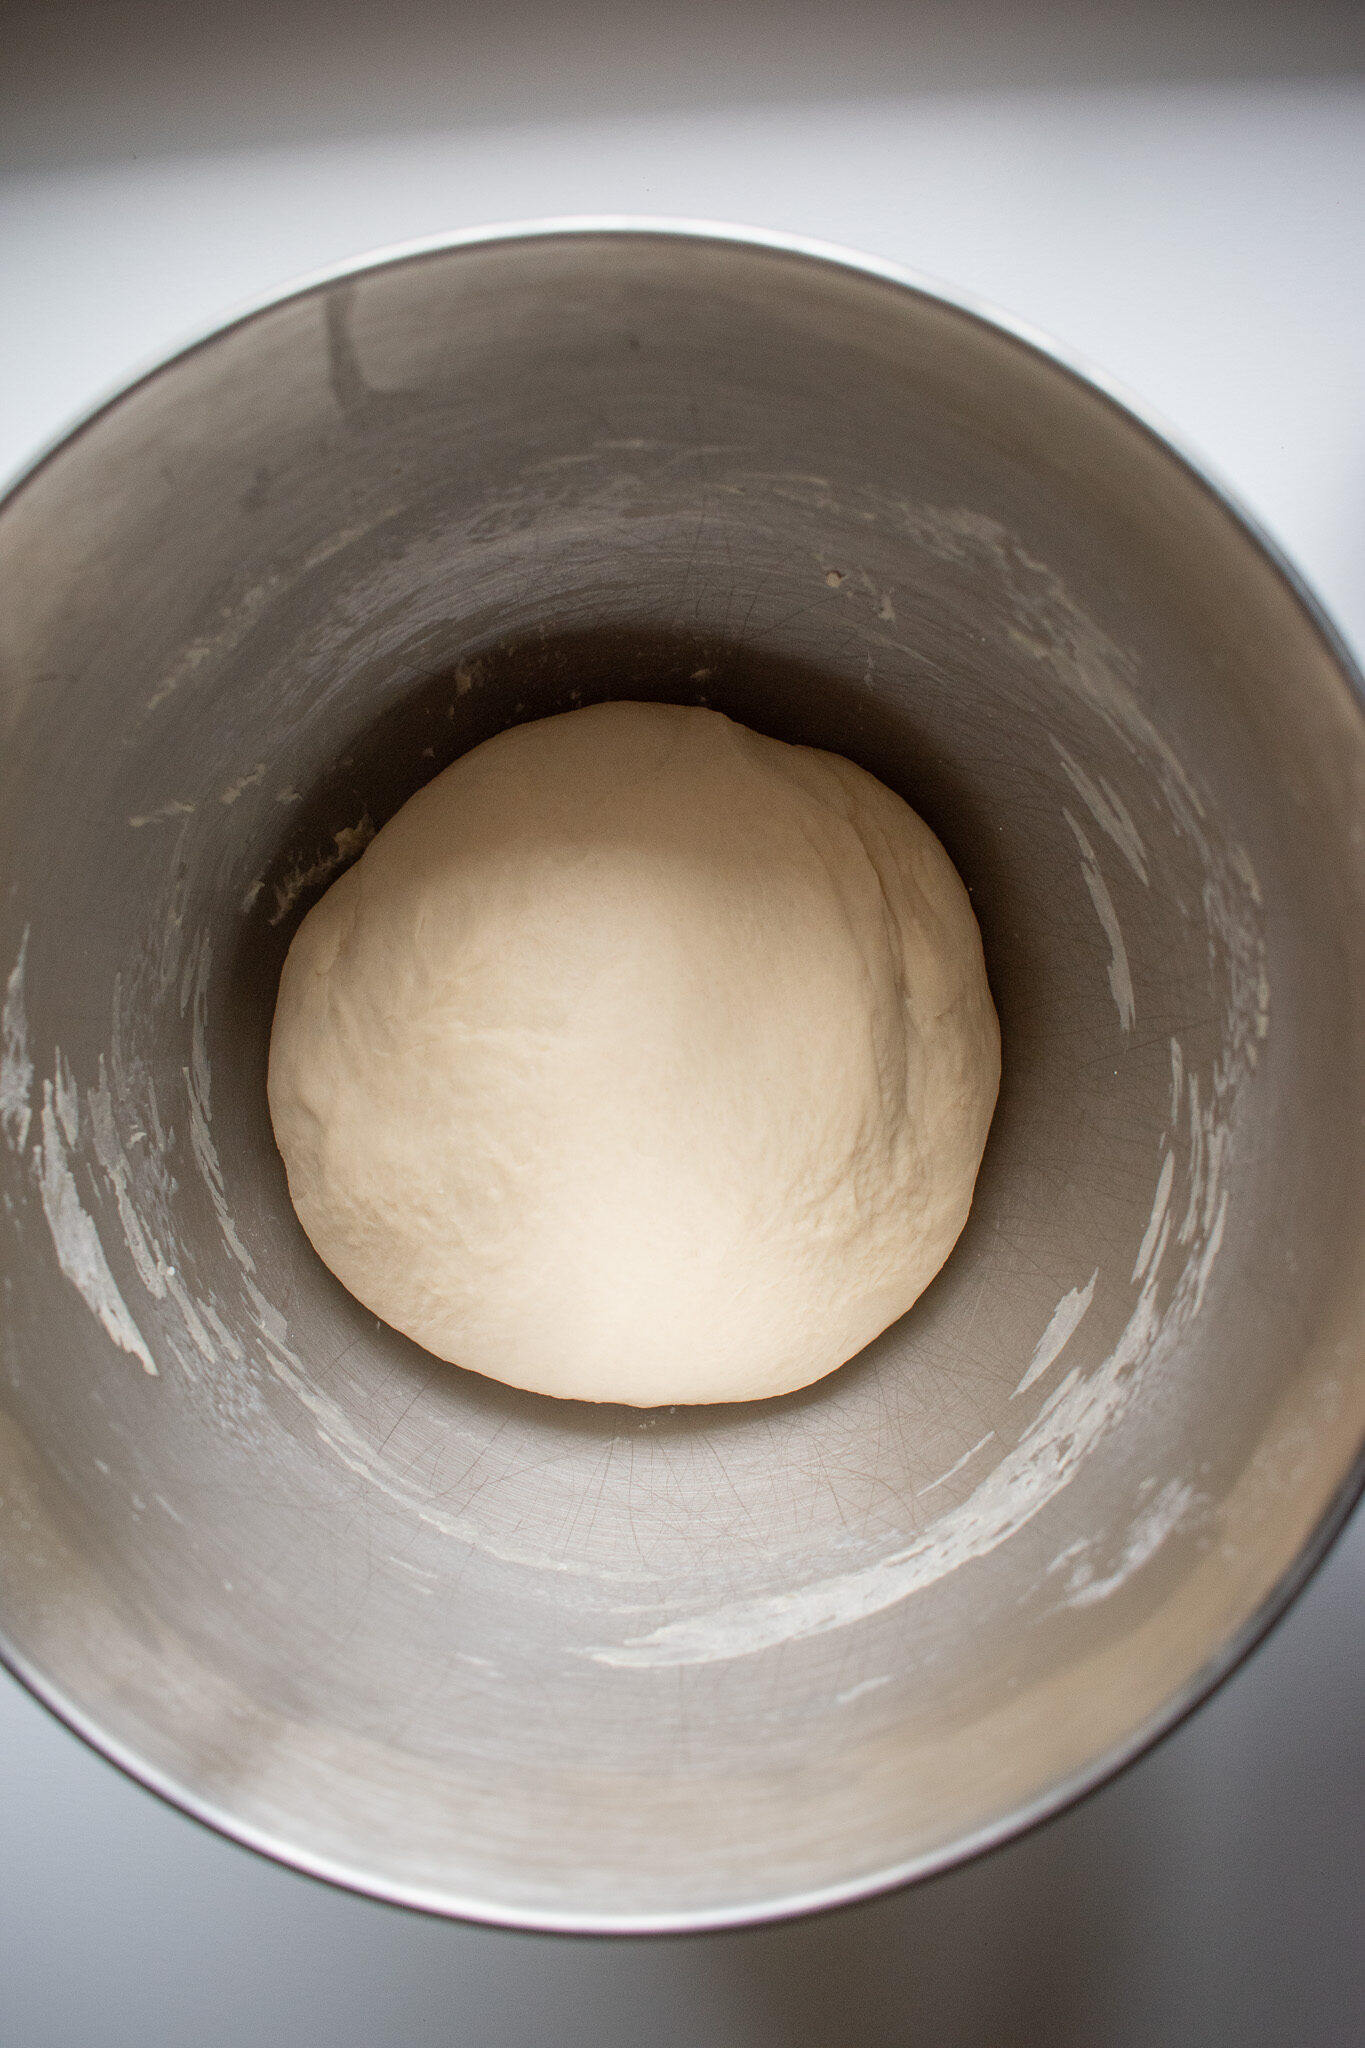
Step 2: Make the dough: Add the flour, milk powder, cubed butter, salt, and sugar to your mixer and mix on low with the paddle until crumbly. Switch to the dough hook, add the warm water and bubbly starter, and mix until it forms a cohesive, soft ball that pulls away from the sides.
Step 3: Rest and knead: Turn the dough onto a floured surface, cover, and rest 30 minutes. Then knead by hand until it's smooth, stretchy, and passes the windowpane test (you can stretch it thin enough to see light through without tearing). When in doubt, knead a little more.
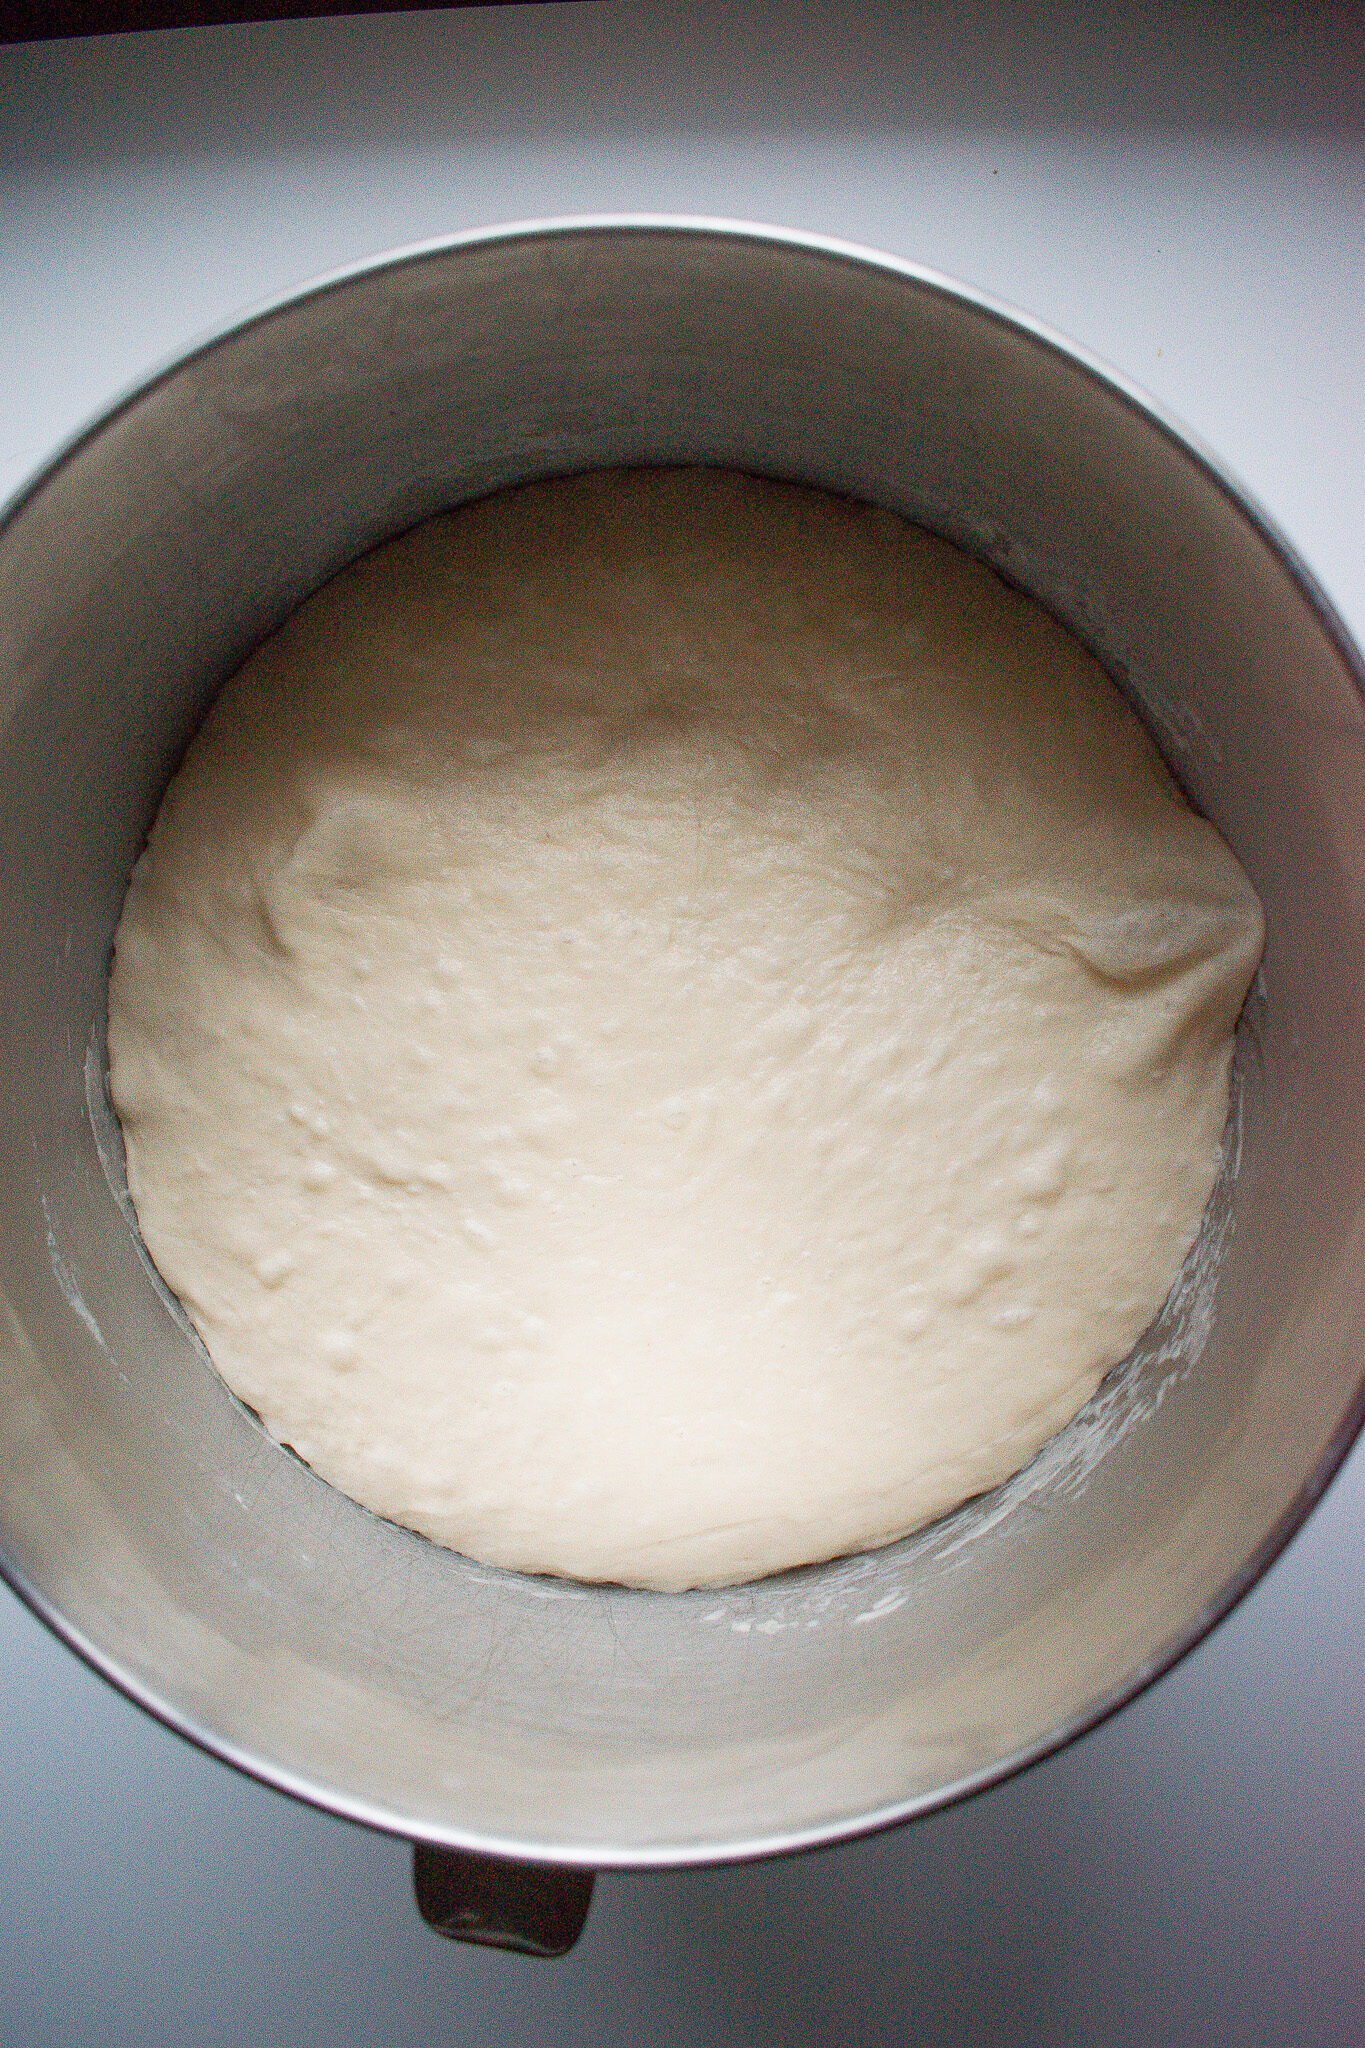
Step 4: Bulk proof: Place the dough in a lightly greased bowl, cover, and let it proof in a warm spot about 12 hours (overnight). It's ready when doubled, very soft, and an indentation stays when you poke it.
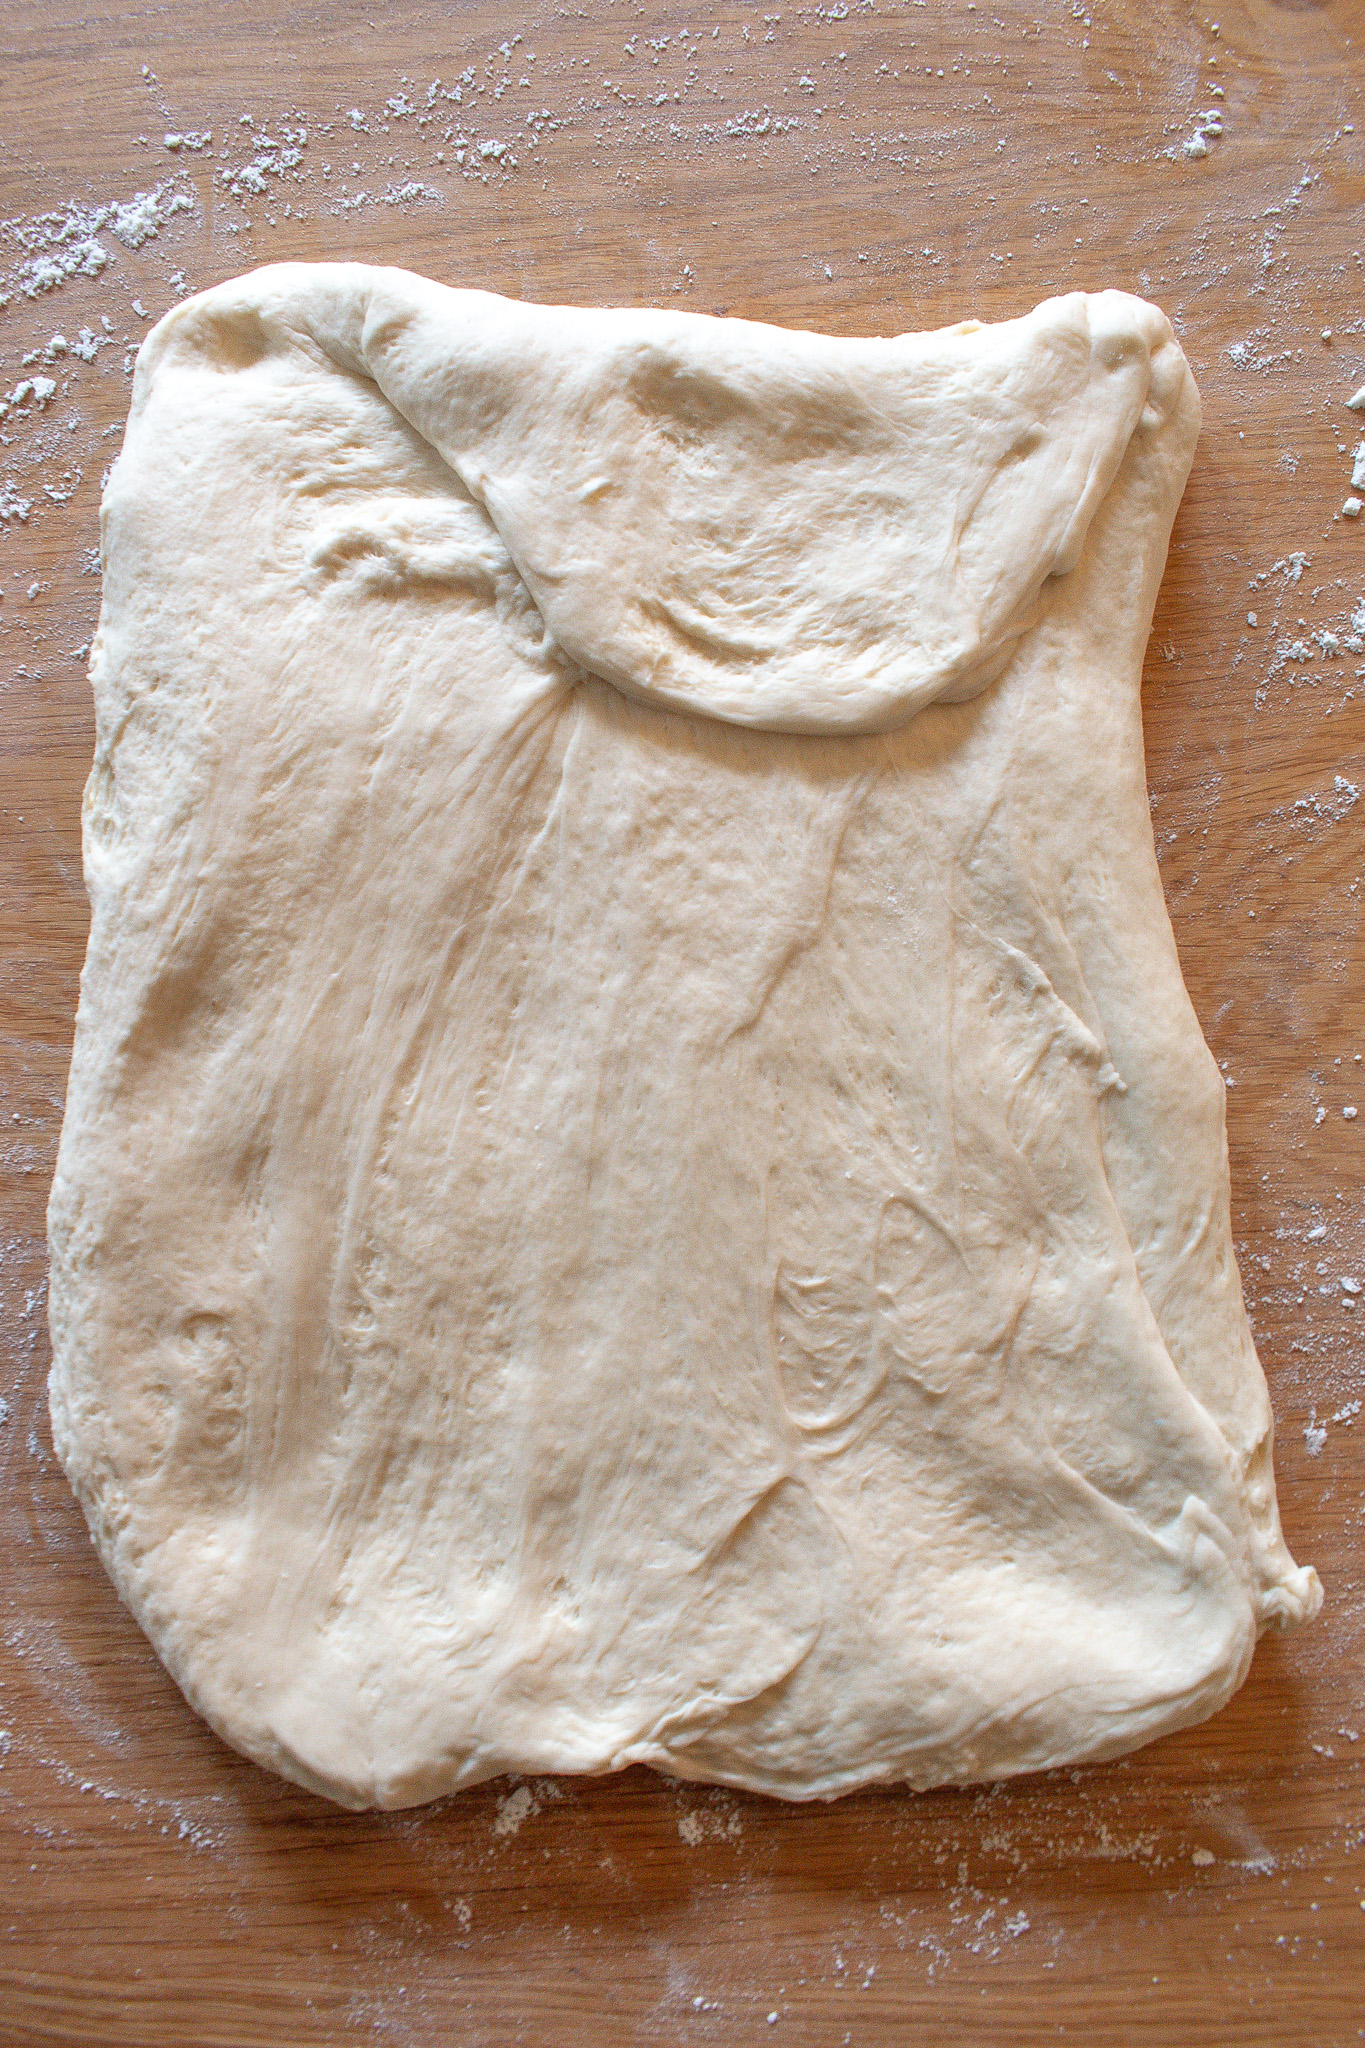
Step 5: Shape: Turn the dough out and gently flatten into a rectangle. Roll it into a log, pinch the seam, and tuck the ends under for a uniform loaf.
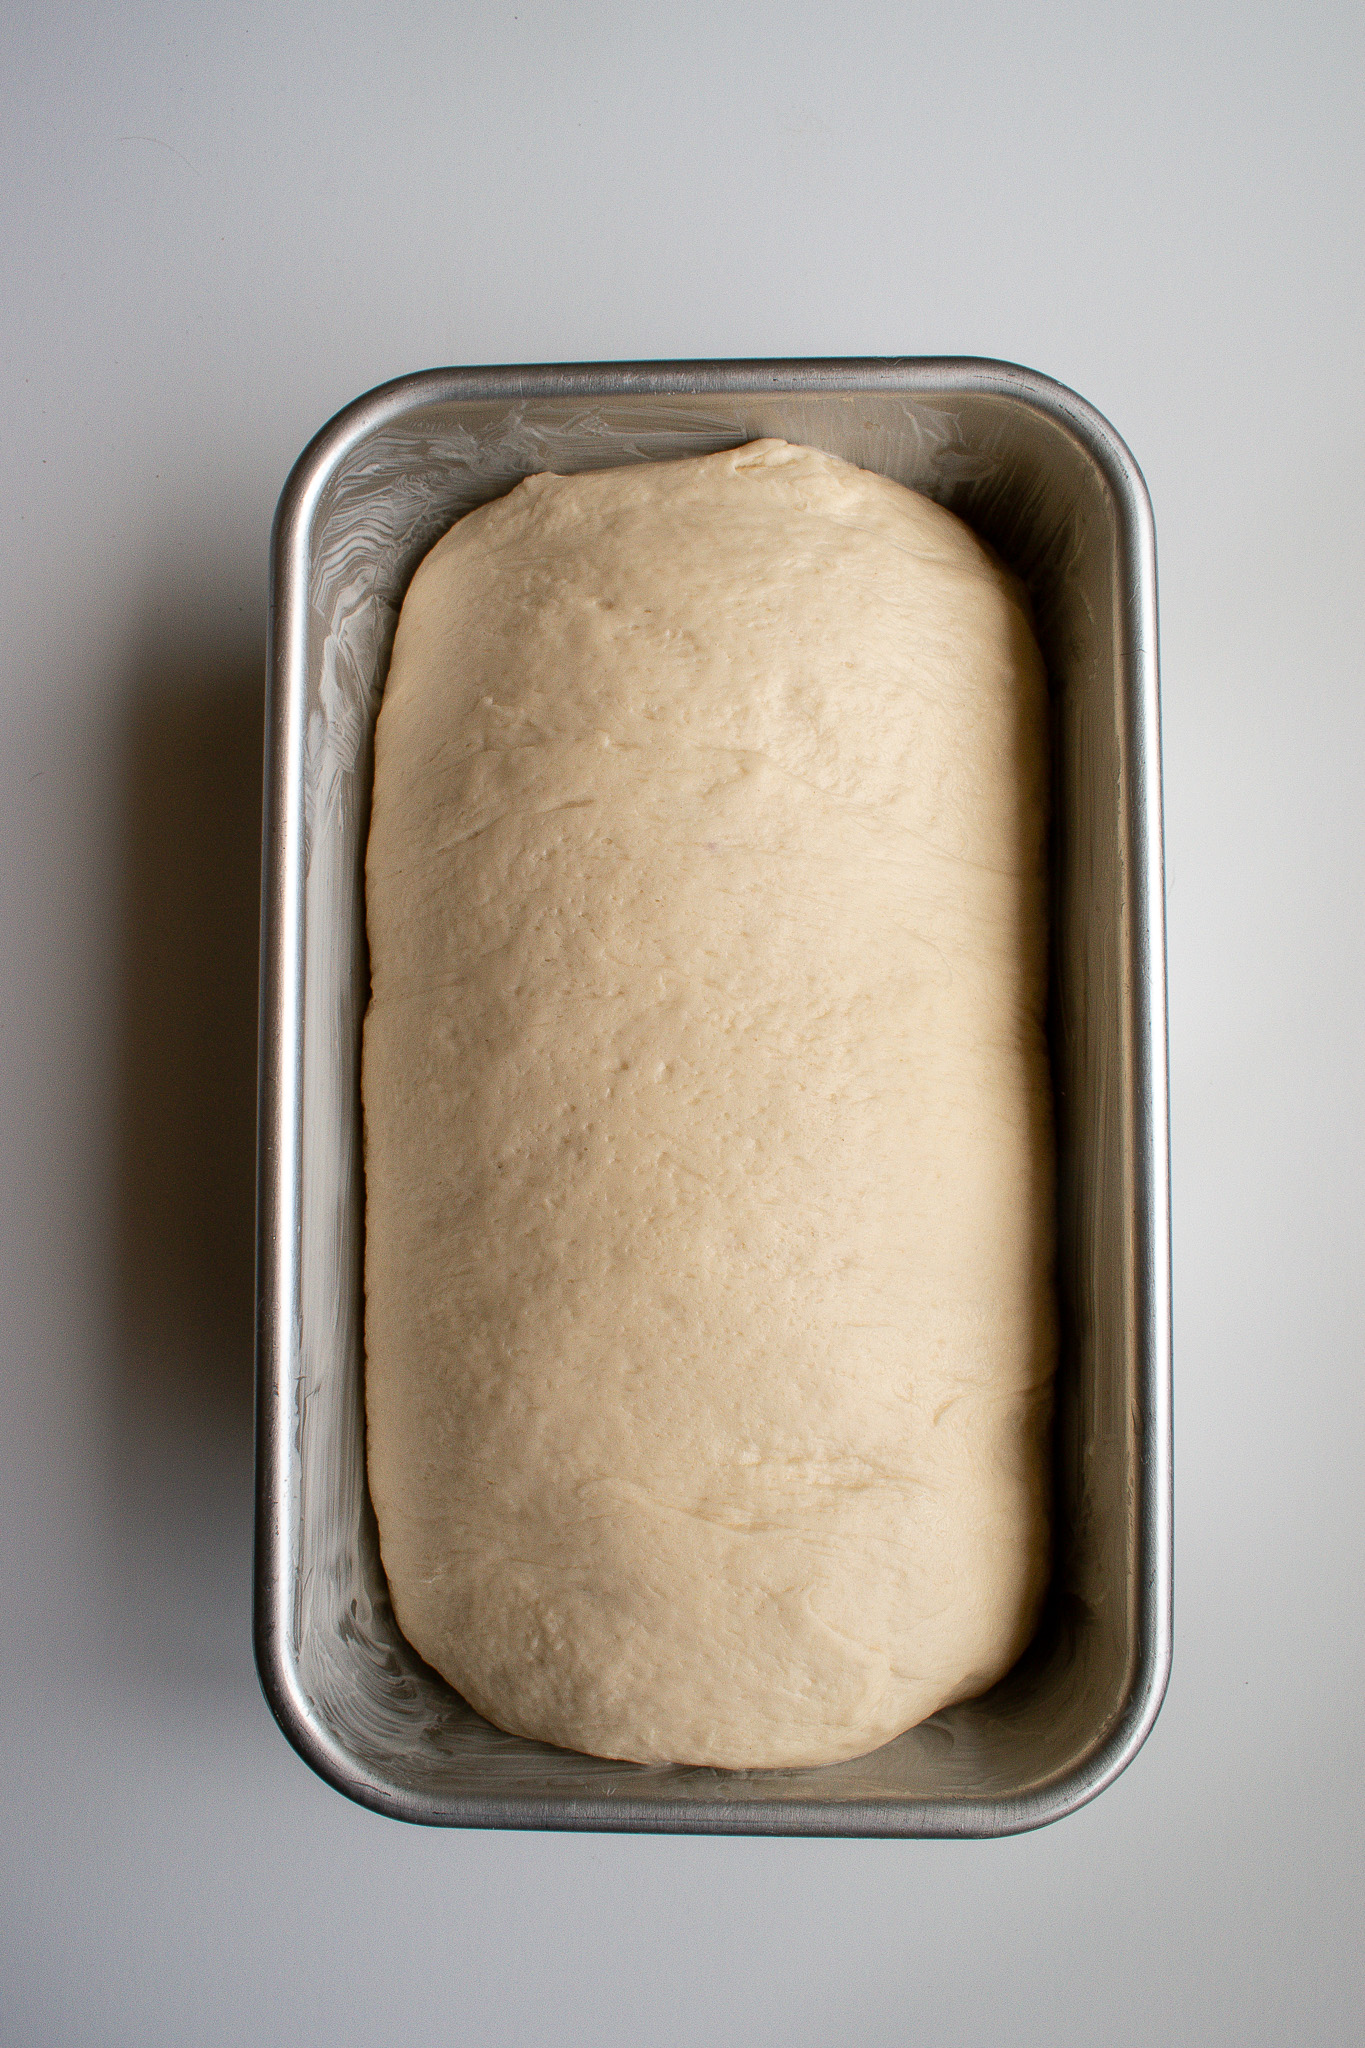
Step 5: Shape: Turn the dough out and gently flatten into a rectangle. Roll it into a log, pinch the seam, and tuck the ends under for a uniform loaf.
Step 7: Bake and cool: Preheat the oven to 375°F. Bake the loaf 40–50 minutes, until deep golden on top and firm on the bottom. Cool in the pan 10 minutes, then turn out onto a rack and cool completely before slicing.
Weigh your ingredients! Using a kitchen scale ensures your measurements are accurate, which is key for getting consistent results in baking. It takes the guesswork out of measuring and helps your recipes turn out exactly as intended every time.
Expert Tips
- Use a scale. This recipe was developed by weight — measuring in cups is the most common reason a loaf doesn't turn out.
- Trust the soft dough. It's a very soft dough and won't feel like firmer doughs you're used to. Resist adding more flour, which makes it harder to rise.
- Add steam if it splits. In dry climates, the crust can set early and split on the sides. Place a pan of boiling water in the oven before baking for a humid environment.
- Cool out of the pan. Move the loaf to a rack after 10 minutes so the bottom doesn't get soggy from trapped steam.
- Don't under-salt. If using salted butter, drop the added salt to about 10g — but keep it, since under-salted bread is bland.
What Makes This Recipe Special?
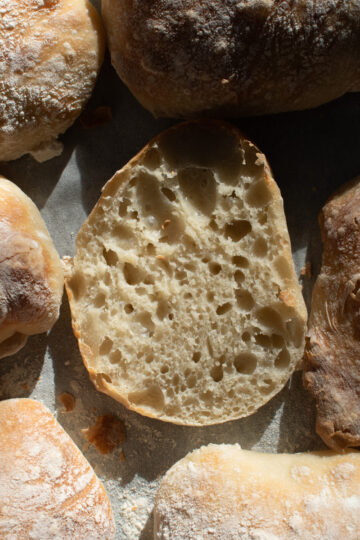
Most sourdough sandwich loaves come out dry and dense — this one doesn't. Milk powder, butter, and a soft, well-proofed dough give it a genuinely pillowy crumb that stays soft for days, with all the flavor of a naturally leavened bread and none of the commercial yeast. It's the same "use your starter for everything" philosophy behind my chewy sourdough discard ciabatta rolls.
It's also endlessly useful. Slice it for everyday sandwiches and toast, or build a whole homemade bread spread with soft sourdough discard burger buns, easy sourdough discard hotdog buns, and a cheesy sourdough pull-apart bread.
Sourdough Sandwich Bread FAQs
Drop a small spoonful of starter into a cup of warm water. If it floats, it's active and ready to bake with; if it sinks, give it more time to rise.
Yes. I've used it with no issues — just reduce the added salt to about 10g so the loaf isn't too salty.
This is meant to be a very soft dough — that's what gives you the pillowy crumb. Don't add extra flour, which would make it dense and harder to rise.
Sourdough Sandwich Bread Troubleshooting Guide
| Problem | Cause | Fix |
|---|---|---|
| Dense, didn't rise | Starter not active, or too much flour. | Use a starter that passes the float test; don't add extra flour. |
| Dry loaf | Over-floured or overbaked. | Measure by weight and pull it when golden and firm on the bottom. |
| Crust split on the sides | Dry oven, crust set early. | Add a pan of boiling water to the oven before baking. |
| Soggy bottom | Cooled in the pan too long. | Turn it onto a rack after 10 minutes. |
| Gummy crumb | Sliced too warm or underbaked. | Bake fully and cool completely before slicing. |
Storage
- Store in an airtight bag on the counter — this keeps it softer than a bread bag. It stays good at room temperature for about a week (and makes excellent toast even as it ages).
- Freeze the fully cooled loaf, wrapped tightly, for longer storage; thaw at room temperature.
Other Sourdough Recipes to Consider
Did you make this recipe?
If you try this recipe, I’d love if you left a quick rating and review below! It really helps support my blog and lets others know how the recipe turned out for you. Also, don't forget to tag me @kneadedthat on Instagram and use the hashtag #kneadedthat so I can see what you made and share it!

Easy Sourdough Sandwich Bread
Equipment
- An oven
- A 9x5 loaf pan
- A kitchen scale
- A Stand mixer (optional, but recommended)
- If not using a stand mixer, you’ll need a mixing bowl for the bread to proof in
- Cling wrap for proofing
Ingredients
- 625 g all-purpose flour about 5 ¼ cups
- 84 g unsalted butter — softened and cubed 6 tbsp
- 15 g sugar 1 ¼ tablespoon
- 12 g salt 2 tsp
- 15 g milk powder optional, 2 tbsp
- 63 g active sourdough starter roughly ¼ cup
- 338 g warm water around 1 ⅓ + 1 tbsp
Instructions
Prep the Starter
- The morning before you want to bake, feed your starter at 100% hydration so it has time to get bubbly and active. It's ready when it has doubled and passes the float test (a small amount floats in warm water).
Make the Dough
- Add the flour, milk powder, cubed butter, salt, and sugar to the bowl of a stand mixer. Mix on low with the paddle attachment until combined — it will look crumbly.625 g all-purpose flour, 84 g unsalted butter — softened and cubed, 15 g sugar, 12 g salt, 15 g milk powder
- Add the warm water and bubbly starter. Switch to the dough hook and mix until the dough is fully combined and pulls away from the sides. It's a soft dough but should form a cohesive ball.63 g active sourdough starter, 338 g warm water
Knead
- Turn the dough onto a lightly floured surface, cover, and rest 30 minutes. Then knead by hand until smooth, connected, and stretchy — it should pass the windowpane test (stretch it thin enough to see light through without tearing). When in doubt, knead more.
Bulk Proof
- Place the dough in a lightly greased bowl, cover with cling wrap, and proof in a warm place about 12 hours (overnight). It's done when doubled, very soft, and an indentation remains when poked.
Shape and Second Rise
- Turn the dough out, gently flatten into a rectangle, and roll into a log. Pinch the seam and tuck the ends under. Place in a buttered 9x5 loaf pan and let rise until doubled and rising over the top of the pan.
Bake
- Preheat the oven to 375°F. Bake the loaf 40–50 minutes, until deep golden on top and firm on the bottom (if it gives a lot when pressed, bake another 5–10 minutes).
- Cool in the pan 10 minutes, then turn out onto a rack and cool completely before slicing for the best results.


Paige Gary says
Can’t wait to try this!! I’m craving a pb&j just reading it!
Stephanie Hawkins says
Helpful and easy to follow recipe for a beginner sourdough baker!