
This not-too-sweet raspberry chocolate tart features a chocolate shortbread crust, a rich dark chocolate ganache filling, and a homemade raspberry whipped cream topped with fresh raspberries and chocolate curls. It's an elegant, make-ahead dessert that looks far fussier than it actually is.
Perfect for Christmas, Valentine's Day, or Easter — or just a weekend treat. If you're after something chocolatey but a little cozier, try my sourdough double chocolate muffins instead.

Quick Look: Raspberry Chocolate Tart
⏱️ Ready In: About 5 hours (mostly hands-off chilling)
🔥 Bake Time: 18–20 minutes at 350°F (crust only)
🍽️ Makes: 8 slices
✨ Calories: Approximately 711 per slice
🥄 Main Ingredients: Dark chocolate, raspberries, cocoa shortbread, heavy cream
🌿 Dietary Info: Vegetarian (easily dairy-free)
💛 Why You'll Love It: A chocolate shortbread crust, silky dark chocolate ganache, and tangy raspberry whipped cream — a showstopper that's mostly make-ahead.
SUMMARIZE & SAVE THIS CONTENT ON
Why You'll Love This Recipe
- Three irresistible layers. Cocoa shortbread crust, dark chocolate ganache, and raspberry whipped cream in every bite.
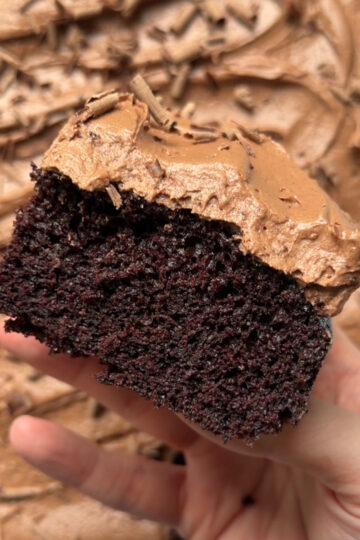
- Not too sweet. Dark chocolate and tart raspberries keep it balanced and grown-up — like a more elegant version of my sourdough chocolate cupcakes.
- Make-ahead friendly. The crust and ganache can be made well ahead; you just top it the day you serve.
- A true chocolate showstopper. Rich and impressive, in the same league as my chocolate sheet cake with chocolate cream cheese frosting.
- Special-occasion worthy. Beautiful enough for the holidays, with a flavor that rivals my chocolate cinnamon rolls with espresso cream cheese icing for chocolate lovers.
Jump to:
Ingredients
For the chocolate shortbread crust
- Cold butter, egg yolk + heavy cream: Bind the crust into a tender, sliceable shortbread.
- All-purpose flour, cocoa powder, powdered sugar + salt: The chocolatey base.
- Ground cardamom (optional): A cozy, complex note that enhances the chocolate.
For the dark chocolate ganache filling
- Dark chocolate: Use a good-quality bar (not chips) so it melts smoothly.
- Heavy whipping cream + butter: For a silky, glossy ganache.
For the raspberry whipped cream
- Raspberries (fresh or frozen): Cooked down into a seedless syrup that flavors and colors the cream.
- Cane sugar, heavy whipping cream + salt: For a lightly sweet, stable whipped topping.
- Fresh raspberries: For topping. If you love raspberry desserts, you'll also love my lemon raspberry sweet rolls.
See the recipe card for quantities.
How to Make Raspberry Chocolate Tart

Step 1: Make the crust: Whisk together the flour, cocoa powder, powdered sugar, salt, and cardamom (if using). Cut in the cold butter, then add the egg yolk and heavy cream. The dough will look crumbly but comes together when squeezed.

Step 2: Shape and chill: Shape into a disk, wrap, and chill 30–60 minutes.

Step 3: Roll and shape: Roll the dough to about 11 inches, press into the tart pan, dock the bottom with a fork, and roll off the uneven edges.

Step 4: Bake the crust: Bake at 350°F for 18–20 minutes, until matte and firm. Cool completely before filling.

Step 5: Make the ganache: Heat the cream until just before boiling, then pour over the chopped chocolate and room-temperature butter. Stir until completely smooth

Step 6: Fill and chill: Pour the ganache into the cooled crust, smooth the top, and chill until fully set.

Step 7: Make the raspberry syrup: Cook the raspberries with half the sugar until jammy, then strain out the seeds. Cool completely.

Step 8: Whip and decorate: Whip the cream with the remaining sugar to just before stiff peaks, then beat in the cooled raspberry syrup. Spread over the set tart and top with fresh raspberries and chocolate curls.
Weigh your ingredients! Using a kitchen scale ensures your measurements are accurate, which is key for consistent results in baking. It takes the guesswork out of measuring and helps your tart turn out exactly as intended every time.
Expert Tips
- Use a chocolate bar, not chips. Chips contain stabilizers that keep the ganache from melting silky-smooth.
- Fully incorporate the butter into the ganache. Diligent stirring gives a glossy finish and prevents the butter from separating.
- Cool the crust completely before filling. Warm crust will melt the ganache and make it greasy.
- Strain the raspberry syrup. Pressing out the seeds keeps the whipped cream smooth.
- Decorate the day you serve. Add the raspberry whipped cream and fresh berries the day of (or night before) for the freshest look and texture.
What Makes This Recipe Special?
Most chocolate tarts are one-note rich. This one layers three textures and balances them: a crisp cocoa shortbread, a dense dark chocolate ganache, and a light, tangy raspberry whipped cream that cuts the richness. Because dark chocolate and tart raspberries lead the flavor, it's decadent without being cloying — a genuinely grown-up dessert.
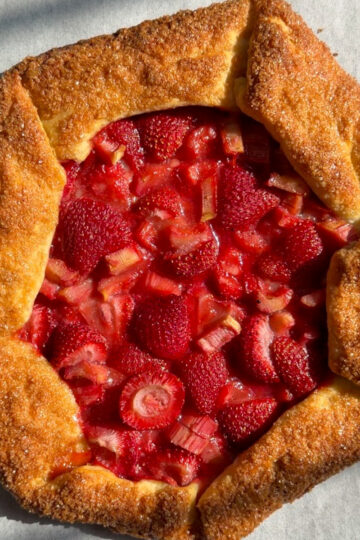
It's also a make-ahead dream, which is what makes it so good for entertaining. If you love an impressive-but-doable dessert, my strawberry rhubarb galette has the same rustic-elegant appeal, while my sourdough chocolate sheet cake with brown butter buttercream and chocolate sour cream pound cake are other deep-chocolate favorites.
Raspberry Chocolate Tart FAQs
Yes — it's ideal for making ahead. Bake the crust and make the ganache a day or two in advance, then add the raspberry whipped cream and fresh berries the day you serve.
Yes. Frozen raspberries work perfectly for the syrup (I usually use frozen). Save fresh ones for topping.
The butter didn't fully incorporate, or the cream was too hot. Stir patiently until completely smooth, and let cream come to just before a boil — not a rolling boil.
A 9-inch tart pan with a removable bottom is easiest for clean edges, but any pan with a removable bottom works.
Yes — use non-dairy cream, chocolate, and butter (freeze the plant butter for the crust), and a dairy-free whipped topping.
Raspberry Chocolate Tart Troubleshooting Guide
| Problem | Cause | Fix |
|---|---|---|
| Grainy or oily ganache | Butter not fully mixed in, or cream too hot. | Stir until completely smooth; heat cream to just before boiling. |
| Crust crumbles when slicing | Under-chilled dough or over-baked crust. | Chill the dough fully and bake just until matte and firm. |
| Seeds in the whipped cream | Syrup not strained. | Press the cooked raspberries through a fine mesh strainer. |
| Runny whipped cream | Over-whipped, or syrup added warm. | Cool the syrup fully and stop whipping just after soft-to-stiff peaks. |
| Ganache won't set | Too much cream or not enough chilling time. | Use the ratios as written and chill until firm before topping. |
Storage
- Store in the fridge for 3–5 days.
- Freeze (without the whipped cream) for up to 3 months; thaw in the fridge and top before serving.
Other Dessert Recipes to Consider
Did you make this recipe?
If you try this recipe, I’d love if you left a quick rating and review below! It really helps support my blog and lets others know how the recipe turned out for you. Also, don't forget to tag me @kneadedthat on Instagram and use the hashtag #kneadedthat so I can see what you made and share it!

Raspberry Chocolate Tart
Equipment
- Rolling mat (optional)
- Food processor (optional)
- 9-inch tart pan
- Rolling Pin
- Stand Mixer (or large bowl with a hand mixer)
- fine mesh strainer
Ingredients
Chocolate Shortbread Crust
- 120 g all-purpose flour 1 cup
- 25 g unsweetened cocoa powder ¼ cup
- 65 g powdered sugar ½ cup
- ⅛ teaspoon salt
- ¼ teaspoon ground cardamom optional
- 84 g unsalted butter cold (6 tablespoons)
- 1 egg yolk cold
- 30 g heavy cream cold (2 tablespoons)
Chocolate Ganache Filling
- 340 g good-quality dark chocolate 12 oz, finely chopped
- 240 g heavy whipping cream 1 cup / 8.5 oz
- 56 g unsalted butter 4 tablespoons, room temperature, chopped
Raspberry Whipped Cream
- 140 g frozen raspberries 5 oz; fresh is okay too
- 100 g cane sugar ½ cup, divided
- 227 g heavy cream 1 cup
- Pinch of salt
- Fresh raspberries for topping
Instructions
Make the crust
- Whisk together the flour, cocoa powder, powdered sugar, salt, and cardamom (if using). Cut in the cold butter with pastry cutters or a food processor until the mixture resembles coarse crumbs.120 g all-purpose flour, 25 g unsweetened cocoa powder, 65 g powdered sugar, ⅛ teaspoon salt, 84 g unsalted butter, ¼ teaspoon ground cardamom
- Add the egg yolk and heavy cream. The dough will look powdery but comes together when squeezed.1 egg yolk, 30 g heavy cream
- Shape the dough into a disk, wrap in plastic, and chill 30–60 minutes.
- Preheat the oven to 350°F. Roll the dough out to about 11 inches on a lightly floured surface, press it into the tart pan, dock the bottom with a fork, and roll off the uneven edges.
- Place the pan on a baking sheet and bake at 350°F for 18–20 minutes, until matte and firm. Cool completely before filling.
Make the ganache
- Heat the cream until just before boiling, stirring frequently. Pour over the chopped chocolate and room-temperature butter and stir until completely smooth.340 g good-quality dark chocolate, 240 g heavy whipping cream, 56 g unsalted butter
- Pour the ganache into the cooled crust, smooth the top, and chill until fully set.
Make the raspberry whipped cream
- Cook the raspberries with half the sugar and a pinch of salt over medium-low heat until they break down into a jam. Strain through a fine mesh strainer to remove seeds, then cool completely.140 g frozen raspberries, 100 g cane sugar, Pinch of salt
- Whip the cream with the remaining sugar to just before stiff peaks. Add the cooled raspberry syrup and whip a little longer, being careful not to over-mix.227 g heavy cream
- Spread over the set tart and top with fresh raspberries and chocolate shavings (use a peeler on a chocolate bar).Fresh raspberries
Leave a Reply