
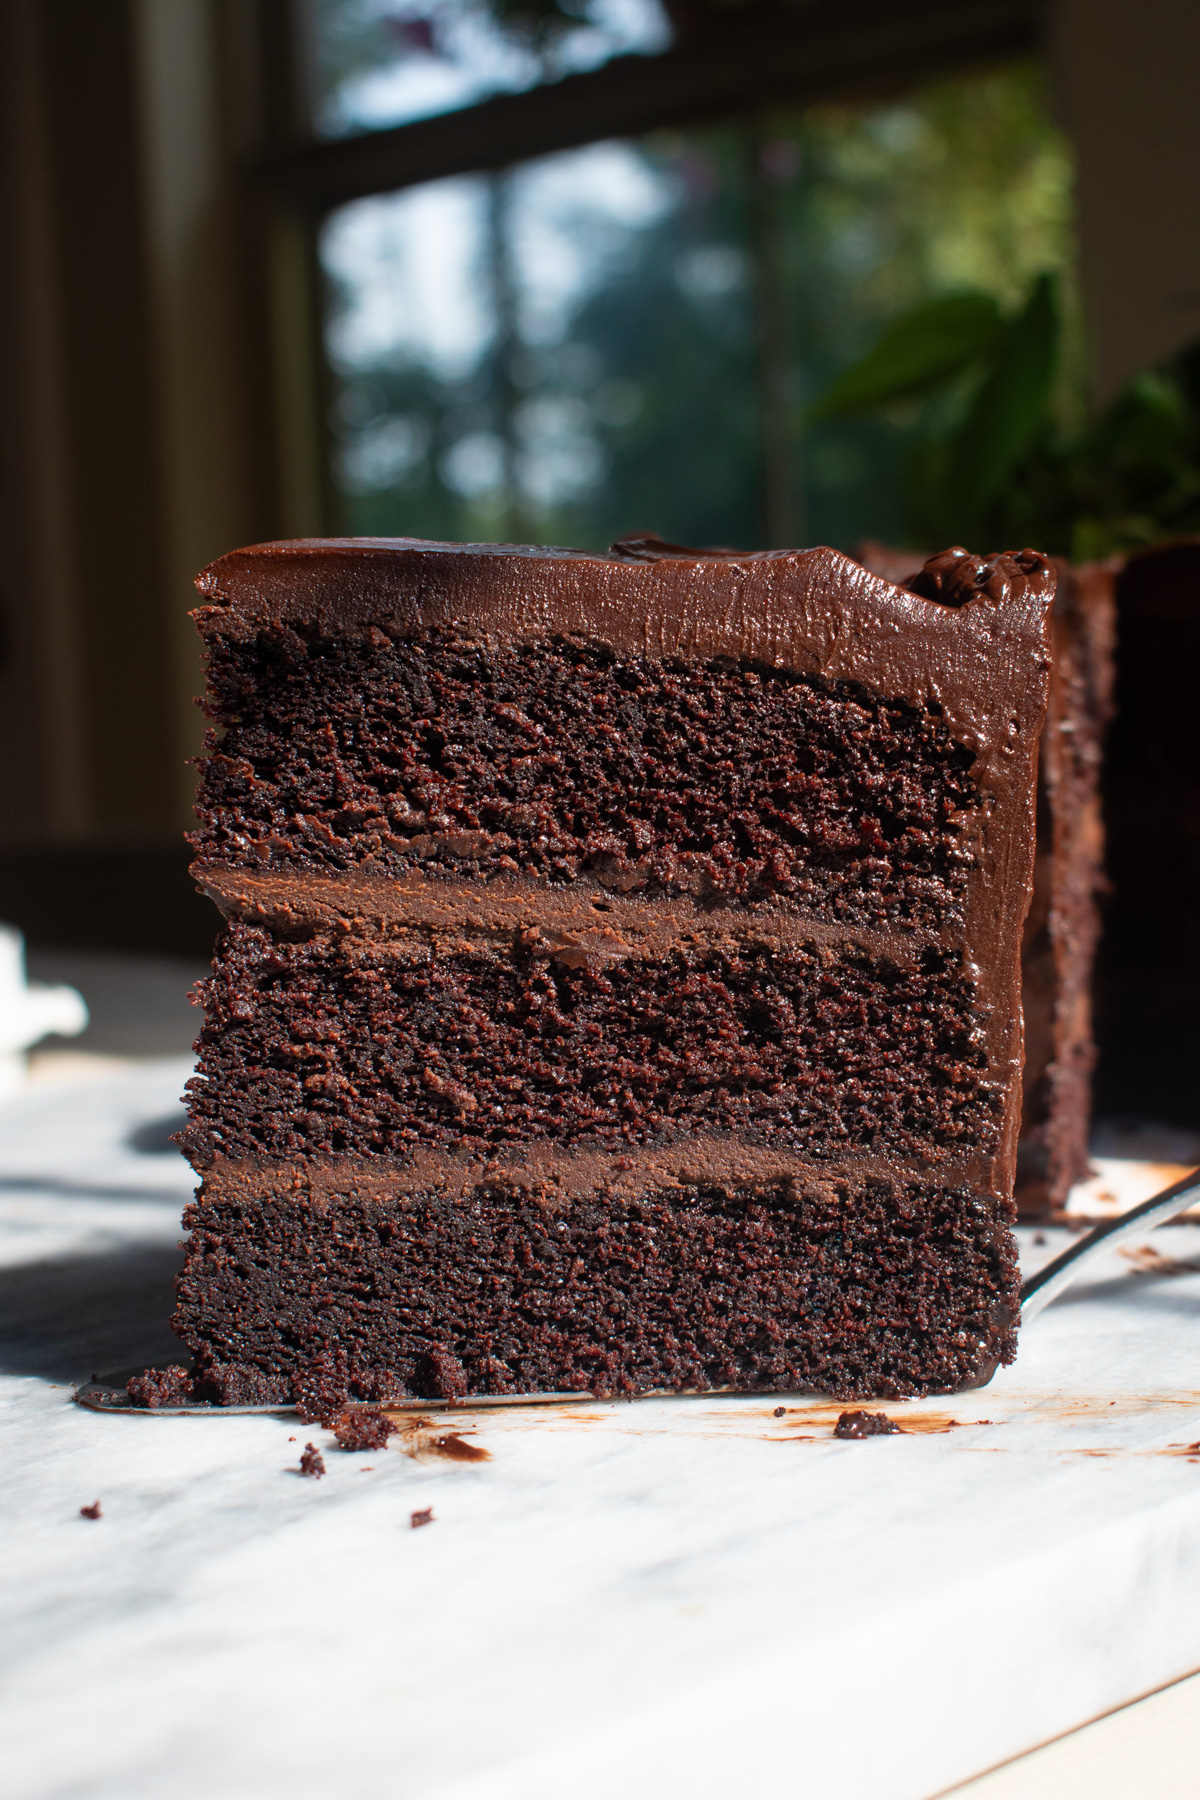
This Matilda's Chocolate Cake is a towering, three-layer tribute to the giant chocolate cake from the beloved book and film that I watched all the time growing up. Deeply moist, extra chocolatey, and completely blanketed in a thick, glossy chocolate fudge frosting swooped into big, beautiful swirls.
If big, fudgy chocolate desserts are your love language, you'll also want my sourdough chocolate cupcakes and the best fudgy sourdough discard brownies next; and if it's that same deep, coffee-bloomed chocolate flavor you're after in a smaller form, my chocolate sour cream pound cake cupcakes use the exact same trick.
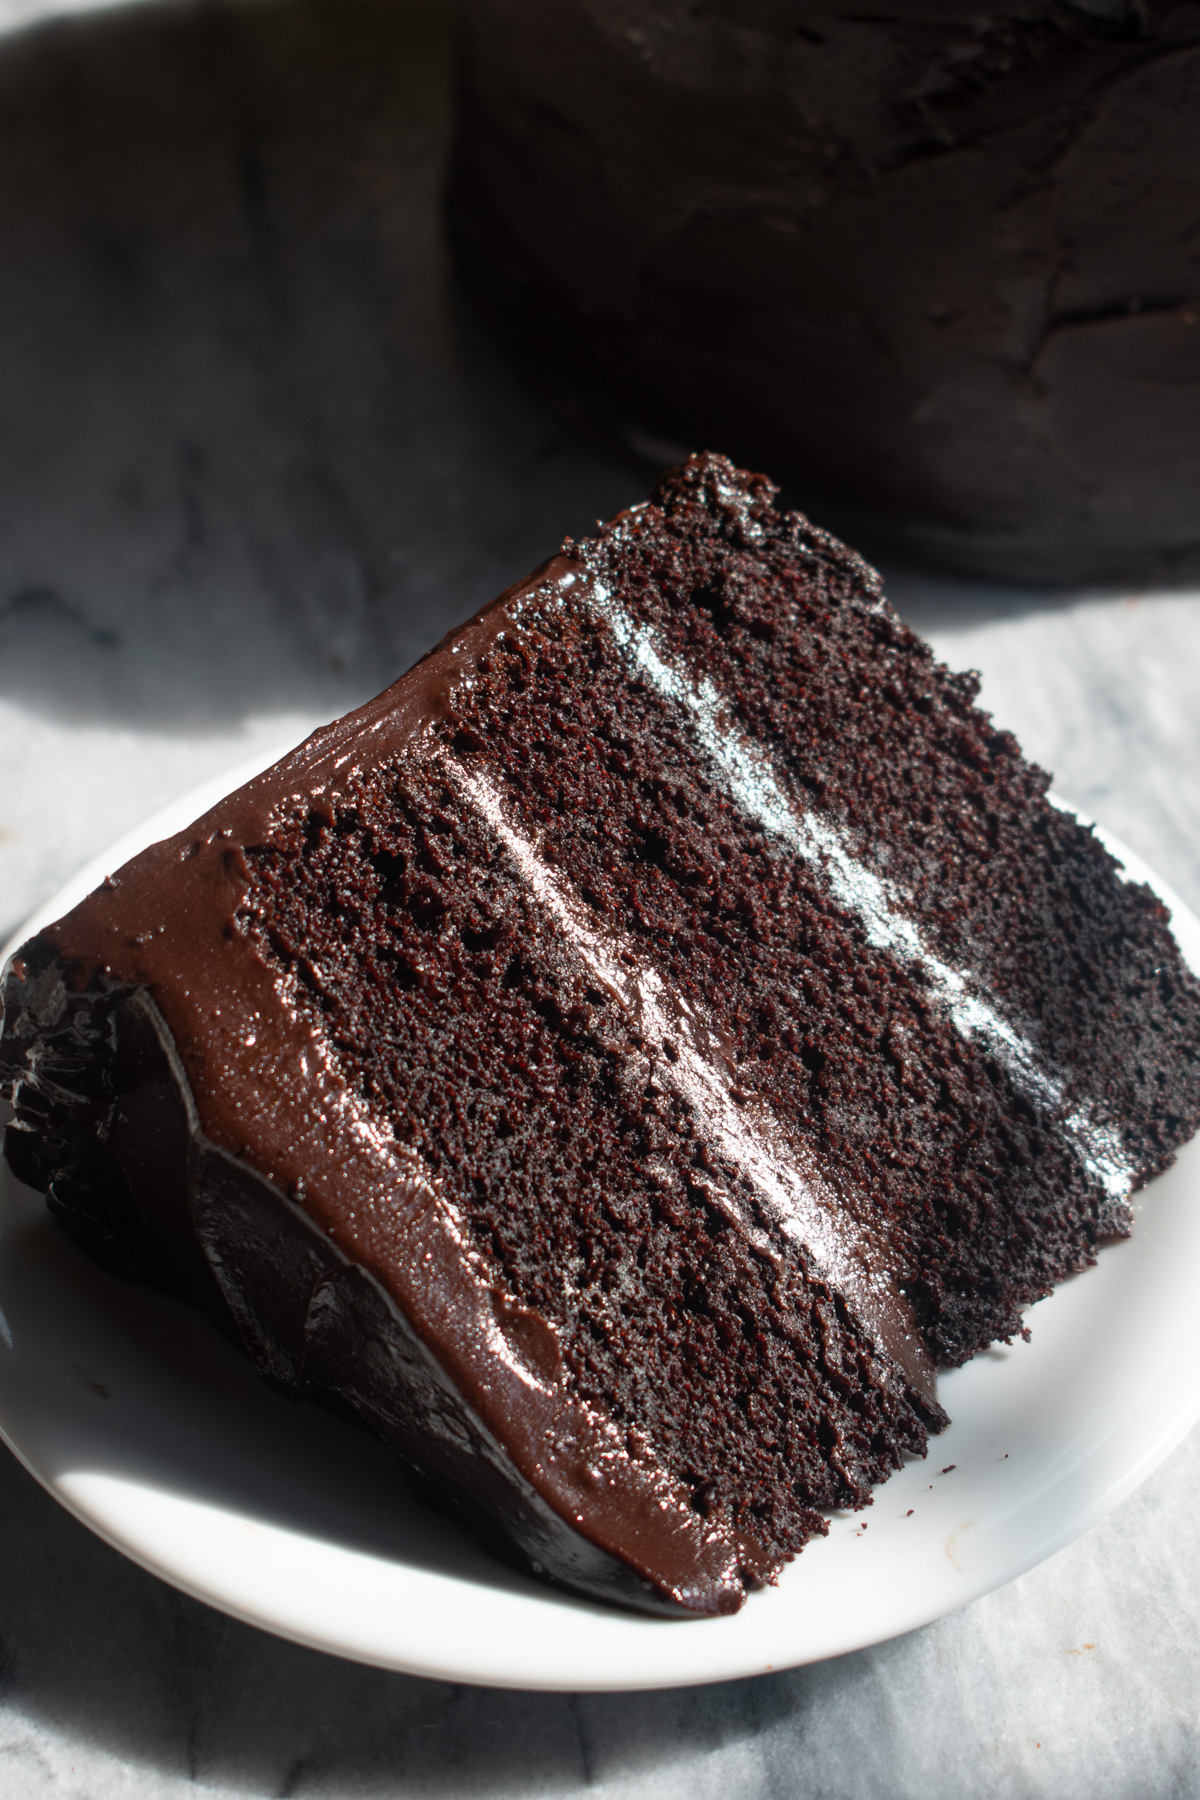
Quick Look: Matilda's Chocolate Cake
- Ready In: about 3 hours 15 minutes (includes cooling and frosting time)
- Bake Time: 25–31 minutes
- Serves: 14–16 slices
- Calories: ~785 per slice
- Main Ingredients: cocoa powder, buttermilk, sour cream, coffee, semisweet chocolate
- Dietary: Vegetarian
- Why You'll Love It: An impossibly moist, deeply chocolatey layer cake finished with a thick, glossy fudge frosting swooped into decadent, storybook-worthy swirls.
SUMMARIZE & SAVE THIS CONTENT ON
Why you'll love this recipe
- It's genuinely moist, not just rich. Buttermilk, full-fat sour cream, and oil work together to keep this cake tender for days — no dry, crumbly slices here, even three days in. It's the same trio of tricks I lean on in my chocolate sour cream pound cake.
- The coffee is a flavor trick, not a flavor. A full cup of hot coffee blooms the cocoa and makes the chocolate taste deeper and more complex — you won't taste coffee in the finished cake, I promise.
- The frosting is a real cooked fudge frosting. Unlike a quick ganache, this frosting is gently cooked on the stovetop before it's poured over chopped chocolate, which gives it a denser, fudgier, more matte finish that holds those big, dramatic swoops beautifully.
- It's the cake people ask for by name. Three tall layers and a generous, swirled frosting finish make this the cake I reach for when a birthday, a graduation, or a "we survived the week" moment needs to feel like a genuine occasion — much like my chai sheet cake with espresso buttercream does for a crowd.
- Simple pantry ingredients, no special equipment. Two mixing bowls, a whisk, and a saucepan — this is a from-scratch layer cake that doesn't demand a stand mixer or anything fussy.
Jump to:
- Quick Look: Matilda's Chocolate Cake
- Why you'll love this recipe
- Ingredients You'll Need
- Easy Substitutions & Variations
- How to Make Matilda's Chocolate Cake
- Expert Tips
- What Makes This Recipe Special?
- Chocolate Matilda Cake FAQs
- Matilda Cake Troubleshooting Guide
- Storage
- Other Chocolate Recipes to Consider
- Matilda's Chocolate Cake
Ingredients You'll Need
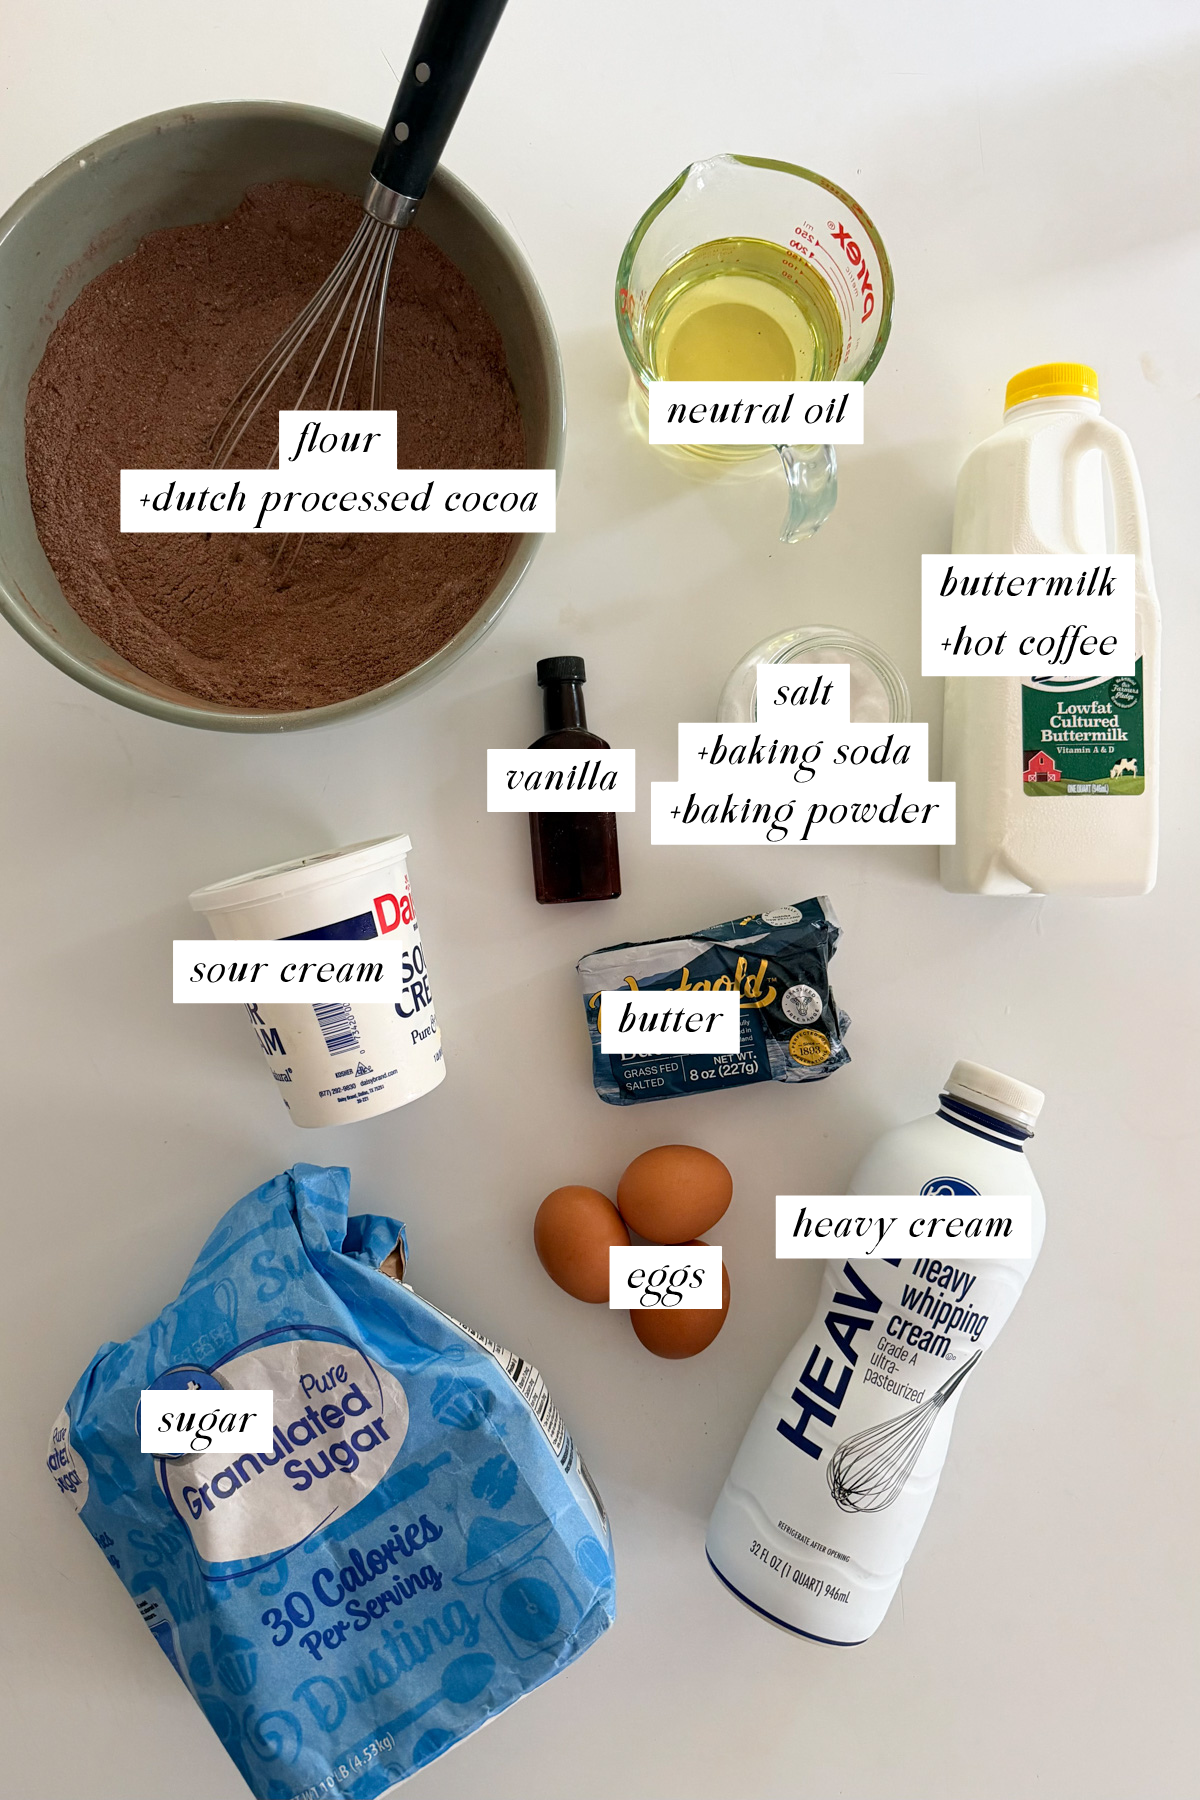
- All-purpose flour — the structural base for these tall layers; just whisk it well with the cocoa so there are no streaks.
- Dutch-process cocoa powder — used in both the cake and the frosting for that deep, almost black chocolate color and mellow, rounded flavor. Natural cocoa will work in a pinch but tastes sharper and lighter in color.
- Granulated sugar — sweetens both the cake and the frosting; there's no brown sugar here, which keeps the crumb from going too dense.
- Baking soda and baking powder — working together for the lift this tall, three-layer cake needs.
- Eggs — for structure; make sure they're at room temperature so the batter comes together smoothly.
- Full-fat sour cream and buttermilk — the double dose of tang and moisture that keeps this cake soft and tender for days, the same combination I trust in my chocolate zucchini loaf cake.
- Neutral oil — oil beats butter here for a moist, tender crumb that stays soft straight out of the fridge.
- Hot brewed coffee — blooms the cocoa and deepens the chocolate flavor without tasting like coffee, the same trick that makes my chocolate espresso cinnamon rolls taste so intensely chocolatey.
- Semisweet chocolate — finely chopped chocolate bars (not chips) melt into the smoothest, glossiest frosting; chips are formulated with stabilizers that resist melting cleanly.
- Unsalted butter and heavy cream — cooked together with the chocolate and cocoa for a dense, fudgy frosting rather than a light whipped one.
See recipe card for quantities.
Easy Substitutions & Variations
- No buttermilk: Stir 1 tablespoon of lemon juice or white vinegar into ¾ cup of regular milk and let it sit for 5–10 minutes until slightly thickened before using.
- No coffee, or avoiding caffeine: Substitute an equal amount of hot water, or use decaf. You'll lose a touch of chocolate depth, but the cake will still taste great.
- Milk chocolate frosting: Swap the semisweet chocolate for milk chocolate if you'd like a sweeter, softer frosting — you may want to reduce the granulated sugar slightly to compensate.
- Two-layer or sheet cake version: Divide the batter between two 9-inch pans and add a few minutes to the bake time, or bake in a 9x13 pan for a simpler sheet cake — you'll have extra frosting either way, which is never a bad problem to have.
- Dairy-free leanings: Use a plant-based buttermilk (or make your own with dairy-free milk and lemon juice) and dairy-free sour cream for the cake. For the frosting, swap in dairy-free chocolate, dairy-free butter, and full-fat coconut cream in place of the heavy cream.
- More texture: Fold a handful of mini chocolate chips into the batter, or press chocolate shavings into the frosting once assembled, similar to the crunchy finish on my triple chocolate chunk cookies.
How to Make Matilda's Chocolate Cake
Note: I bake by weight for accuracy. Cup measurements are approximate and may vary depending on how you scoop.
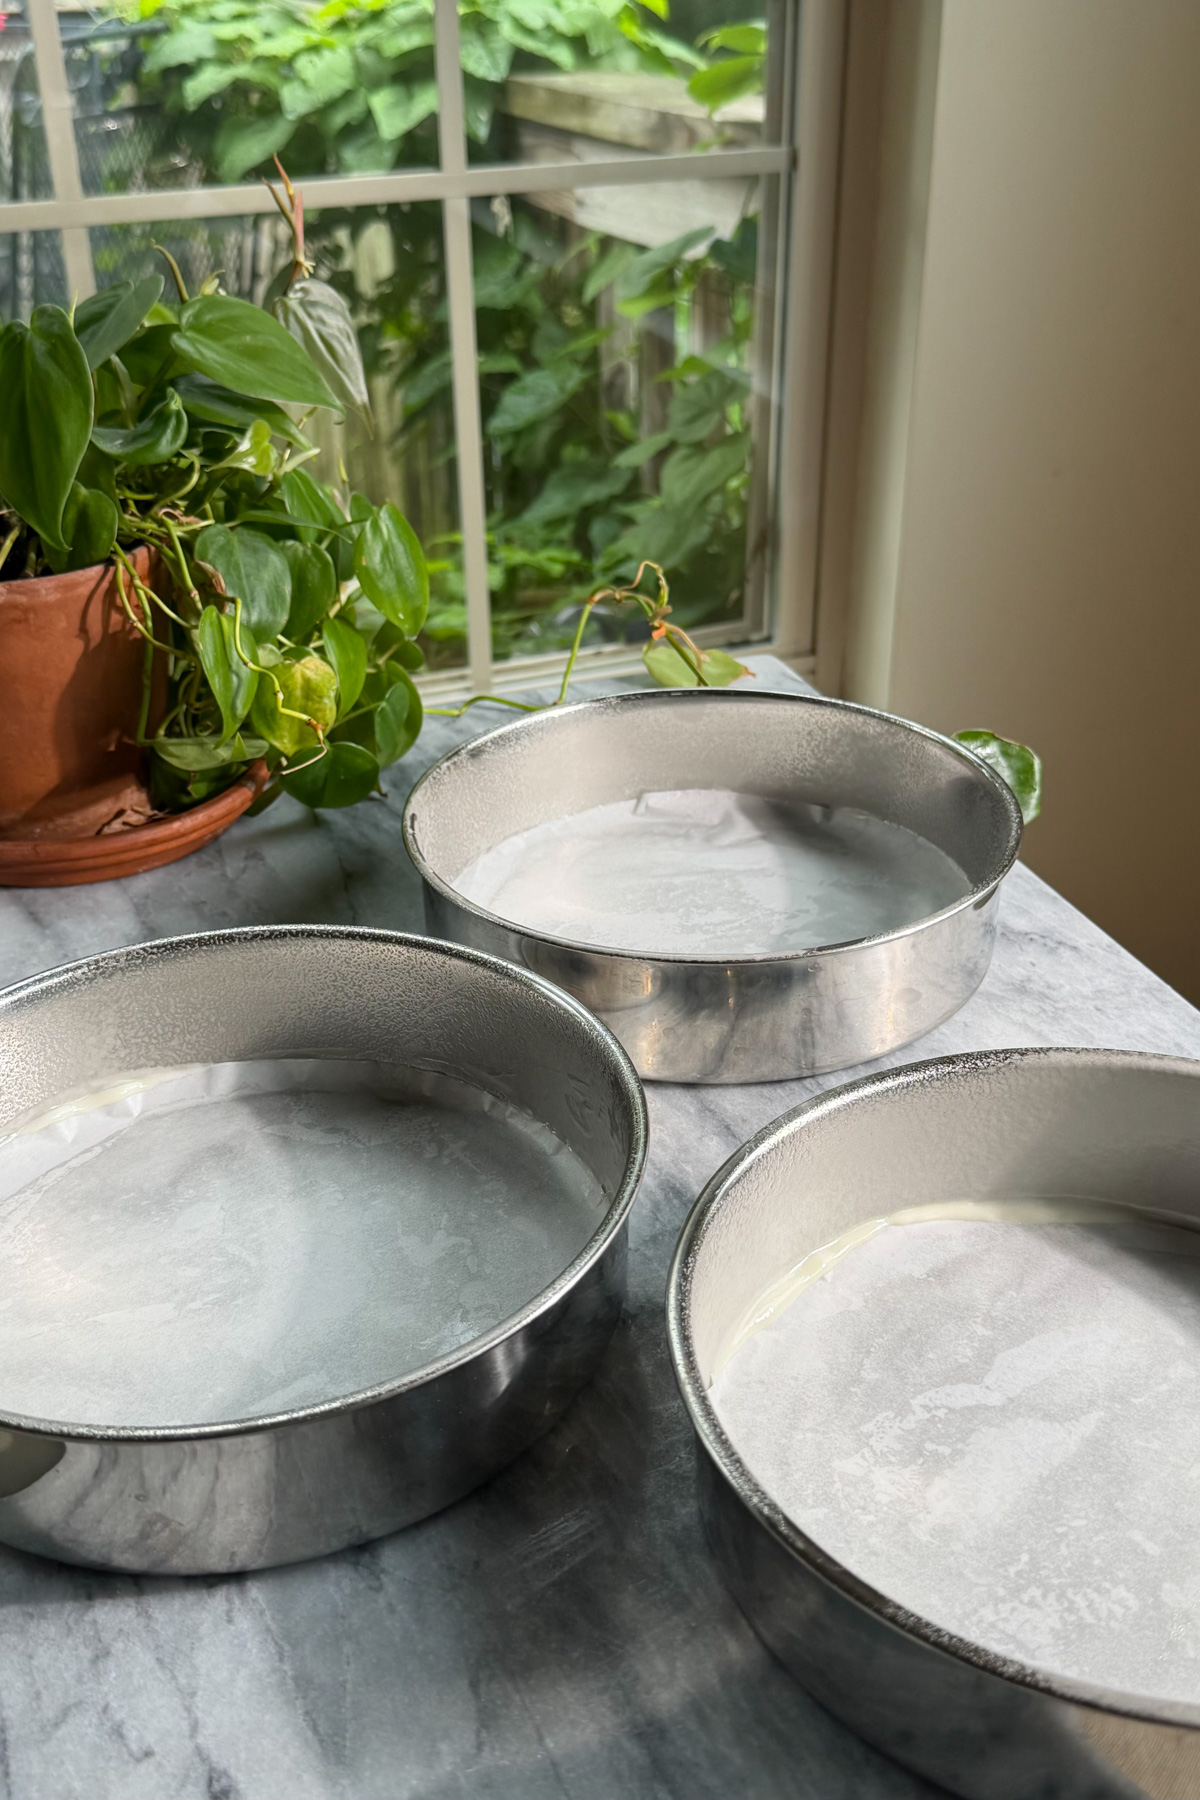
Step 1: Prep the pans and mix the dry ingredients. Preheat the oven to 350°F (175°C). Grease three 8-inch round cake pans and line the bottoms with parchment paper. In a large bowl, whisk together the flour, cocoa powder, granulated sugar, baking soda, baking powder, and salt until no cocoa streaks remain.
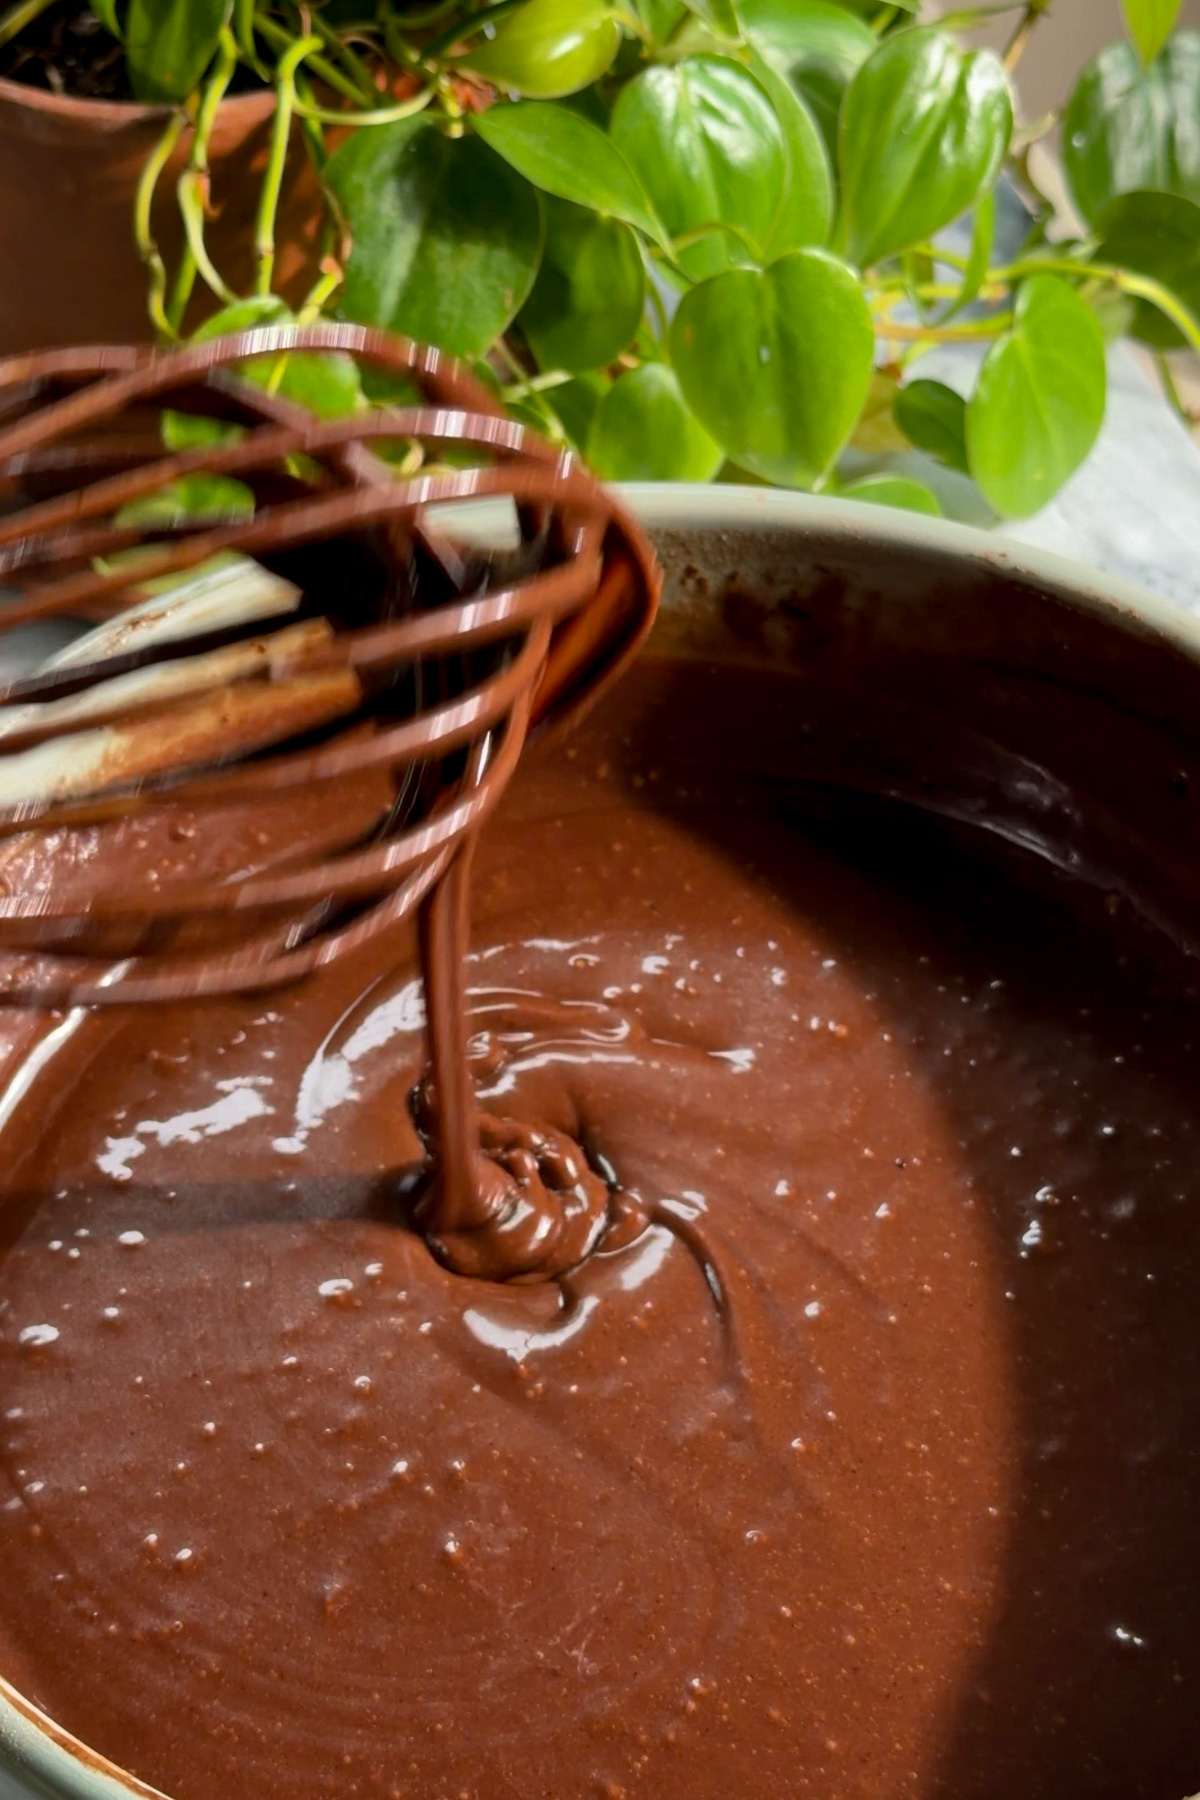
Step 2: Mix the wet ingredients and combine the batter. In a separate bowl, whisk together the eggs, sour cream, buttermilk, oil, and vanilla until smooth. Pour into the dry ingredients and whisk until mostly combined, then slowly pour in the hot coffee while whisking, mixing just until smooth and evenly combined. The batter will be quite thin — that's exactly right, and it's what gives you a moist, tender crumb.
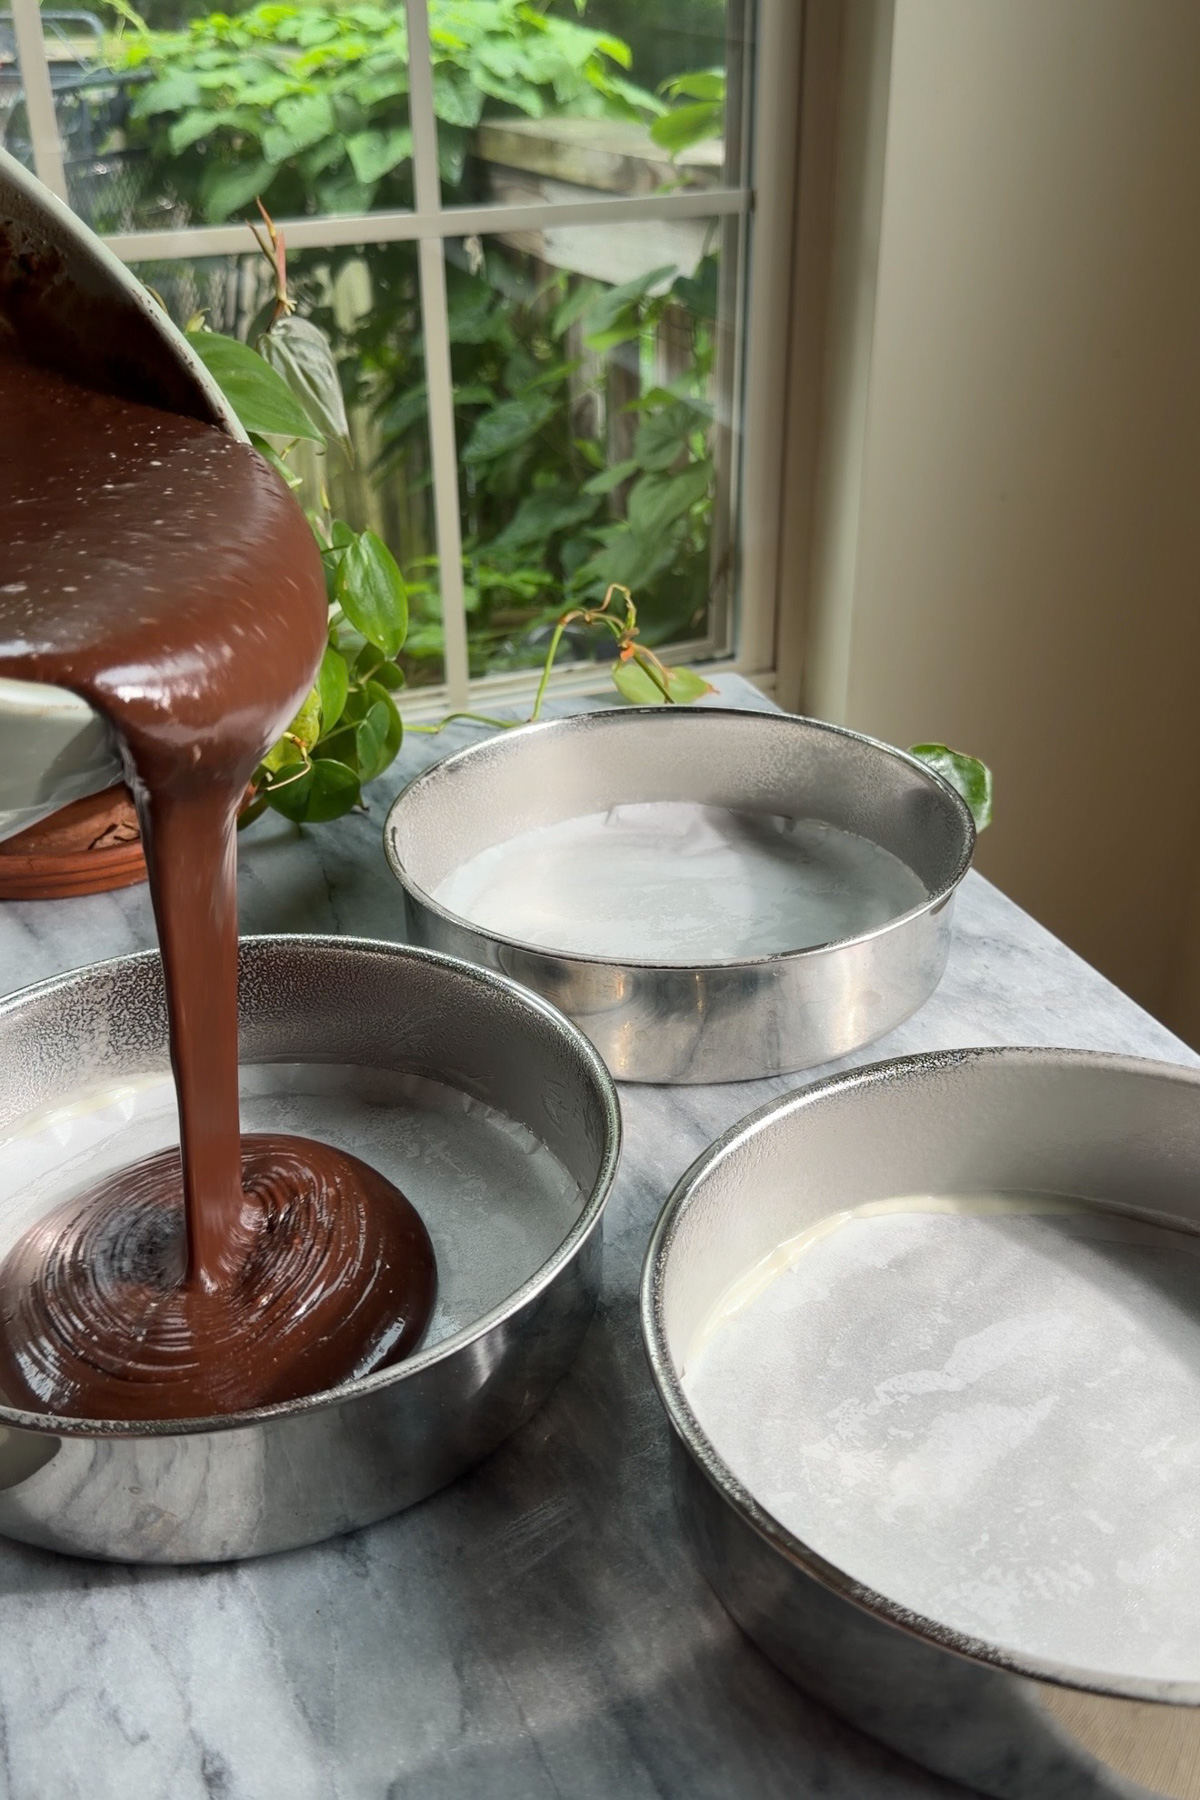
Step 3: Bake and cool. Divide the batter evenly between the three prepared pans. Bake for 25–31 minutes, until the centers spring back lightly when touched and a toothpick inserted in the center comes out with a few moist crumbs — not completely clean. Let the cakes cool in their pans for 10–15 minutes, then turn out onto wire racks and cool completely before frosting. Rushing this step is the number one way to end up with sliding layers and melted frosting.
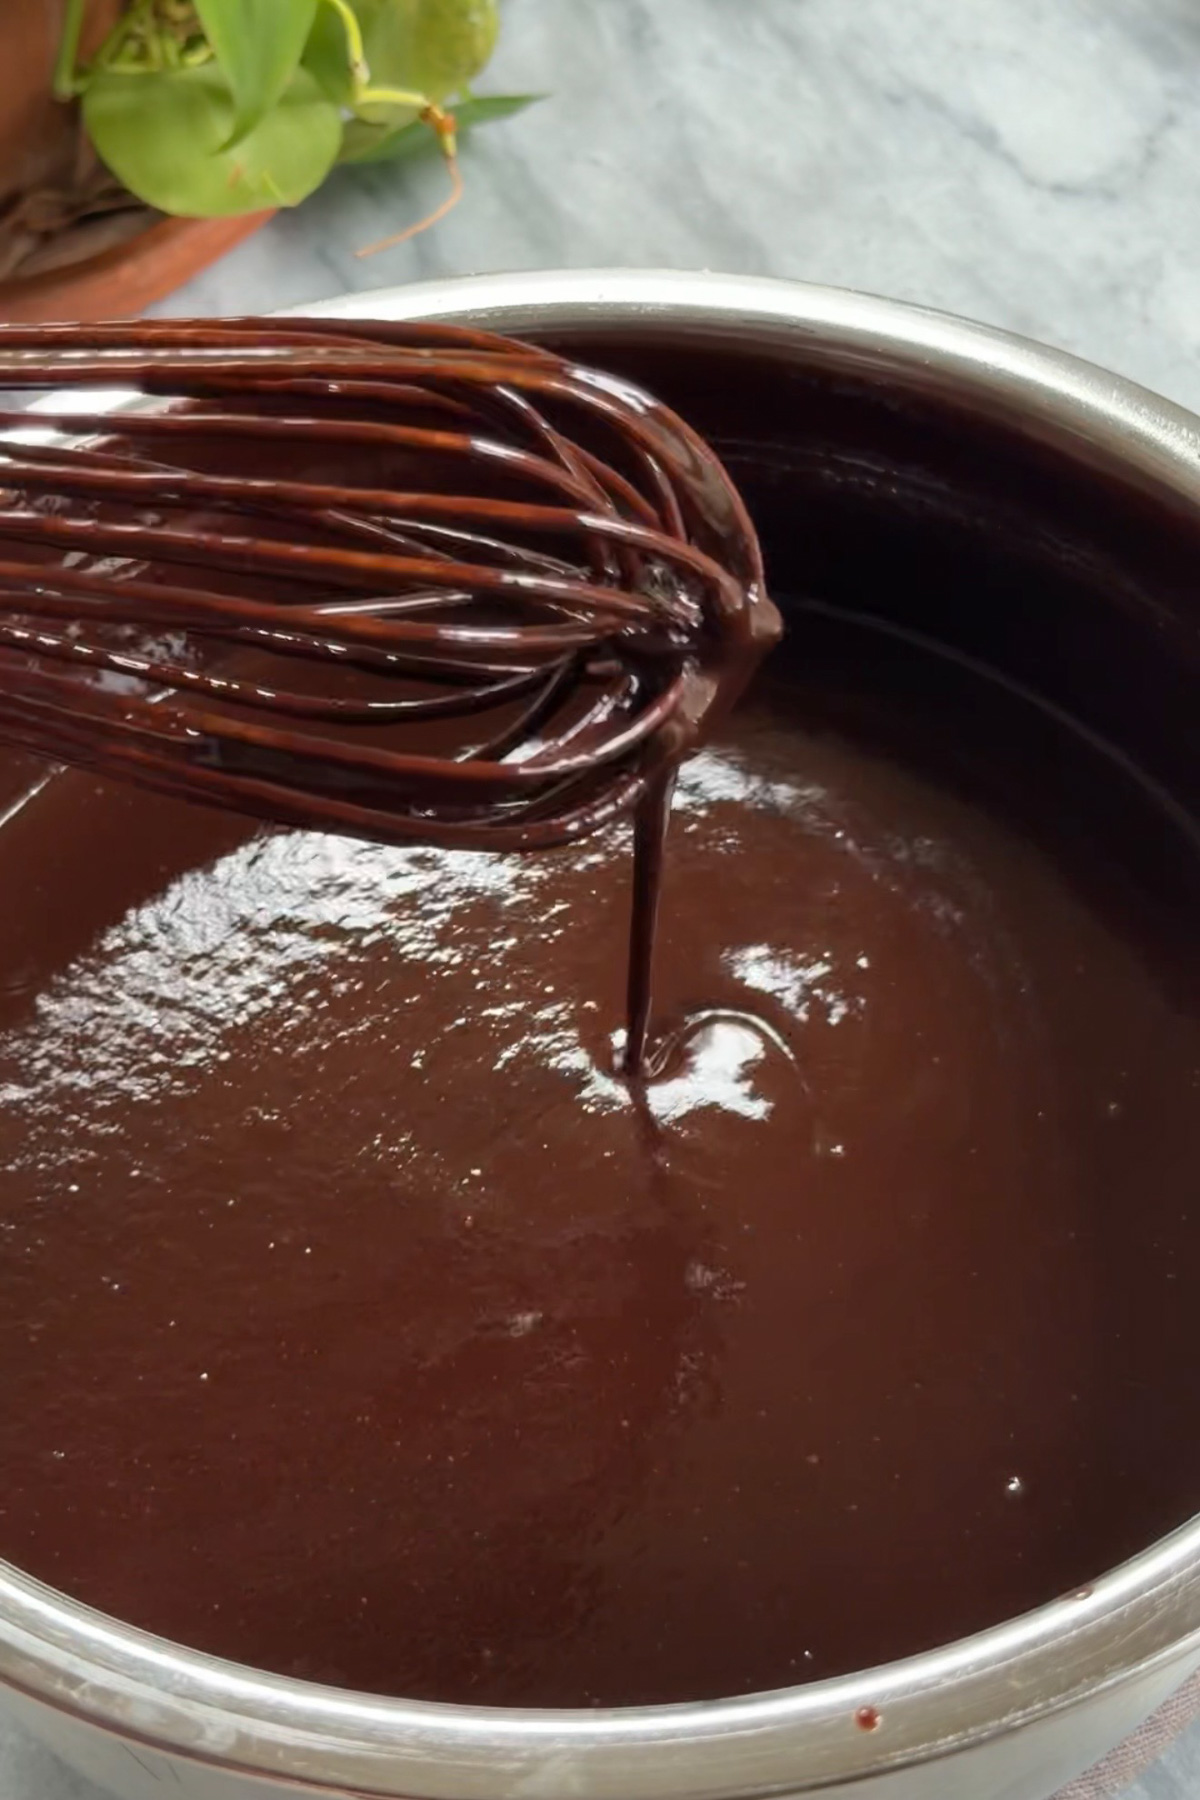
Step 4: Make the chocolate fudge frosting. Place the finely chopped semisweet chocolate in a large heatproof bowl.
In a medium saucepan, combine the butter, heavy cream, cocoa powder, and granulated sugar. Heat over medium-low, whisking frequently, until the butter has completely melted, the cocoa is fully incorporated, and the sugar has dissolved — continue until the mixture reaches about 175–185°F (79–85°C), hot and steaming but not vigorously boiling.
Immediately pour it over the chopped chocolate and let stand undisturbed for 2–3 minutes, then whisk slowly from the center out until smooth and glossy. Whisk in the vanilla and salt.
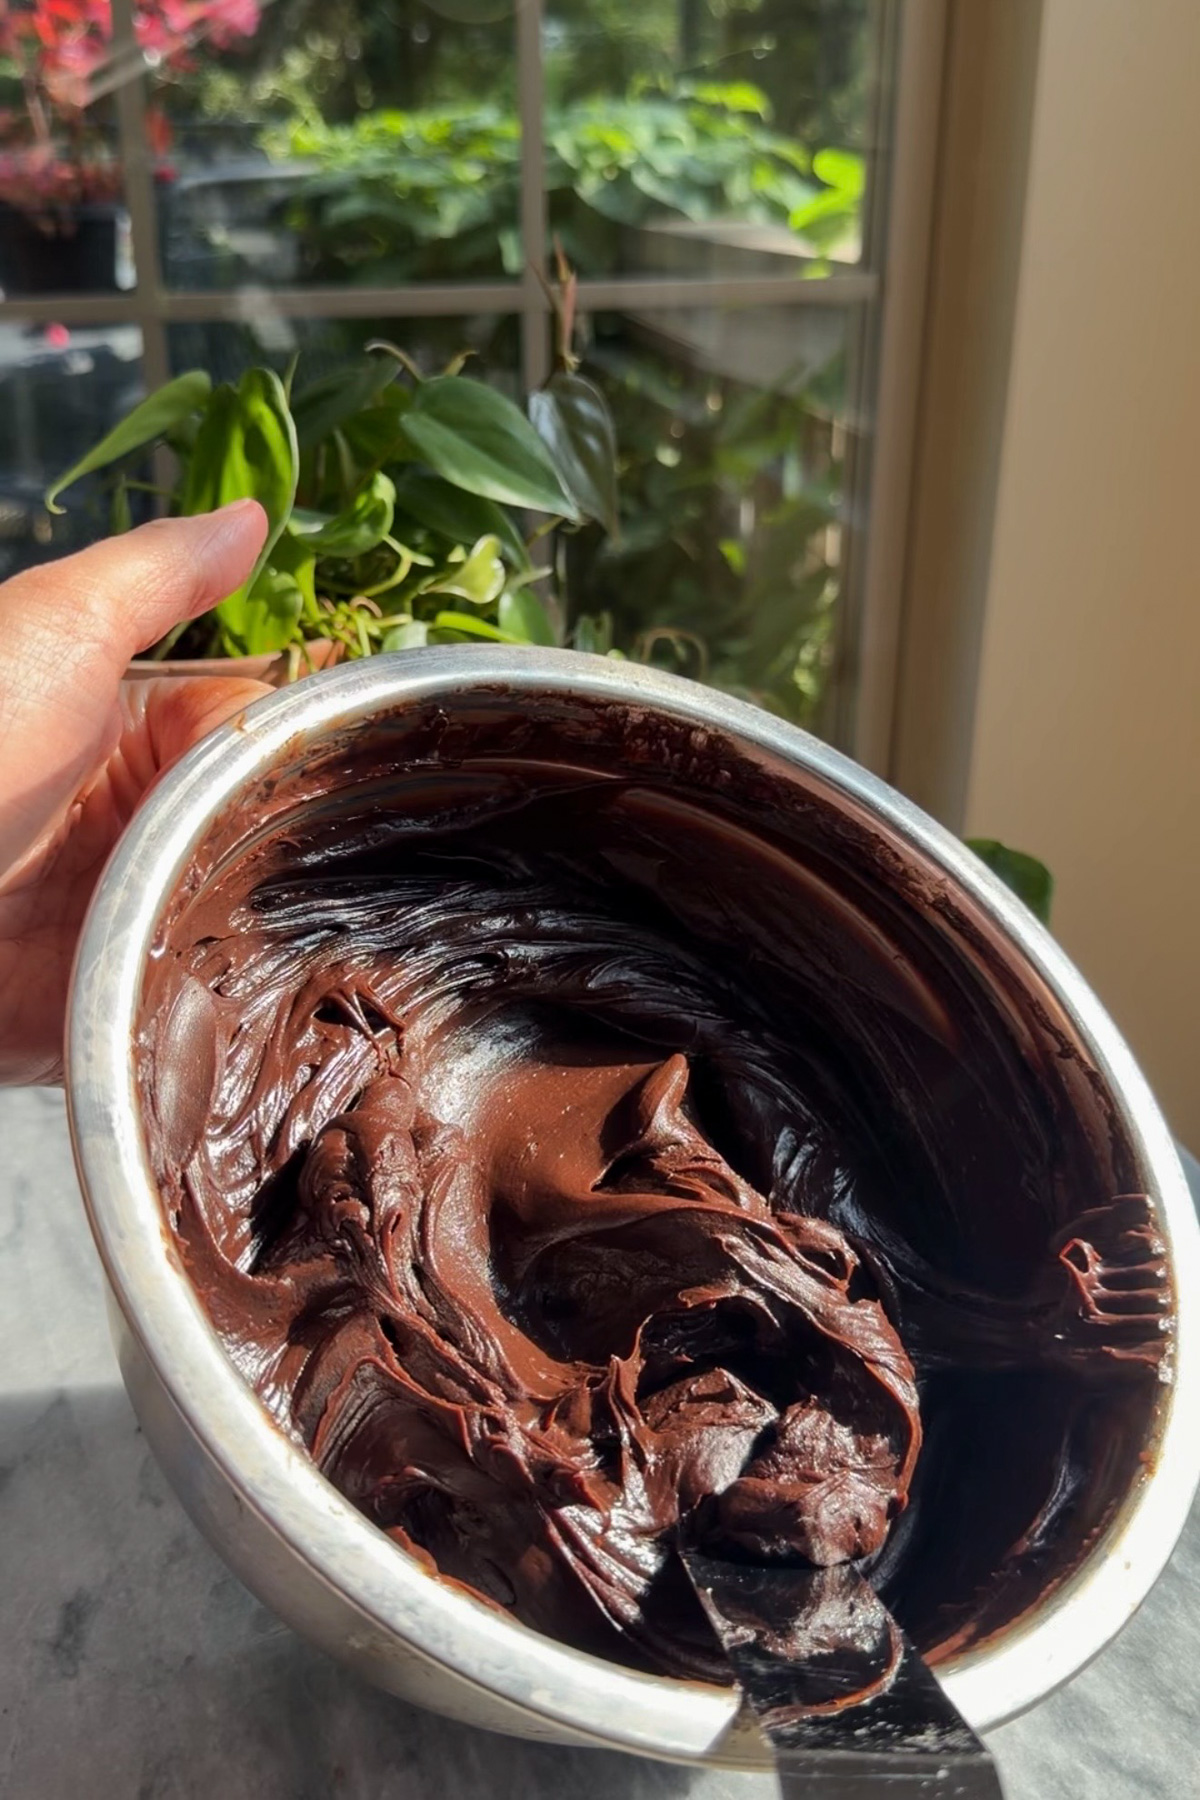
Step 5: Cool the frosting. Let the frosting cool at room temperature, stirring occasionally, until thick and spreadable — about 1–2 hours depending on your kitchen. It will thicken considerably as it cools, so don't panic if it looks too loose at first.
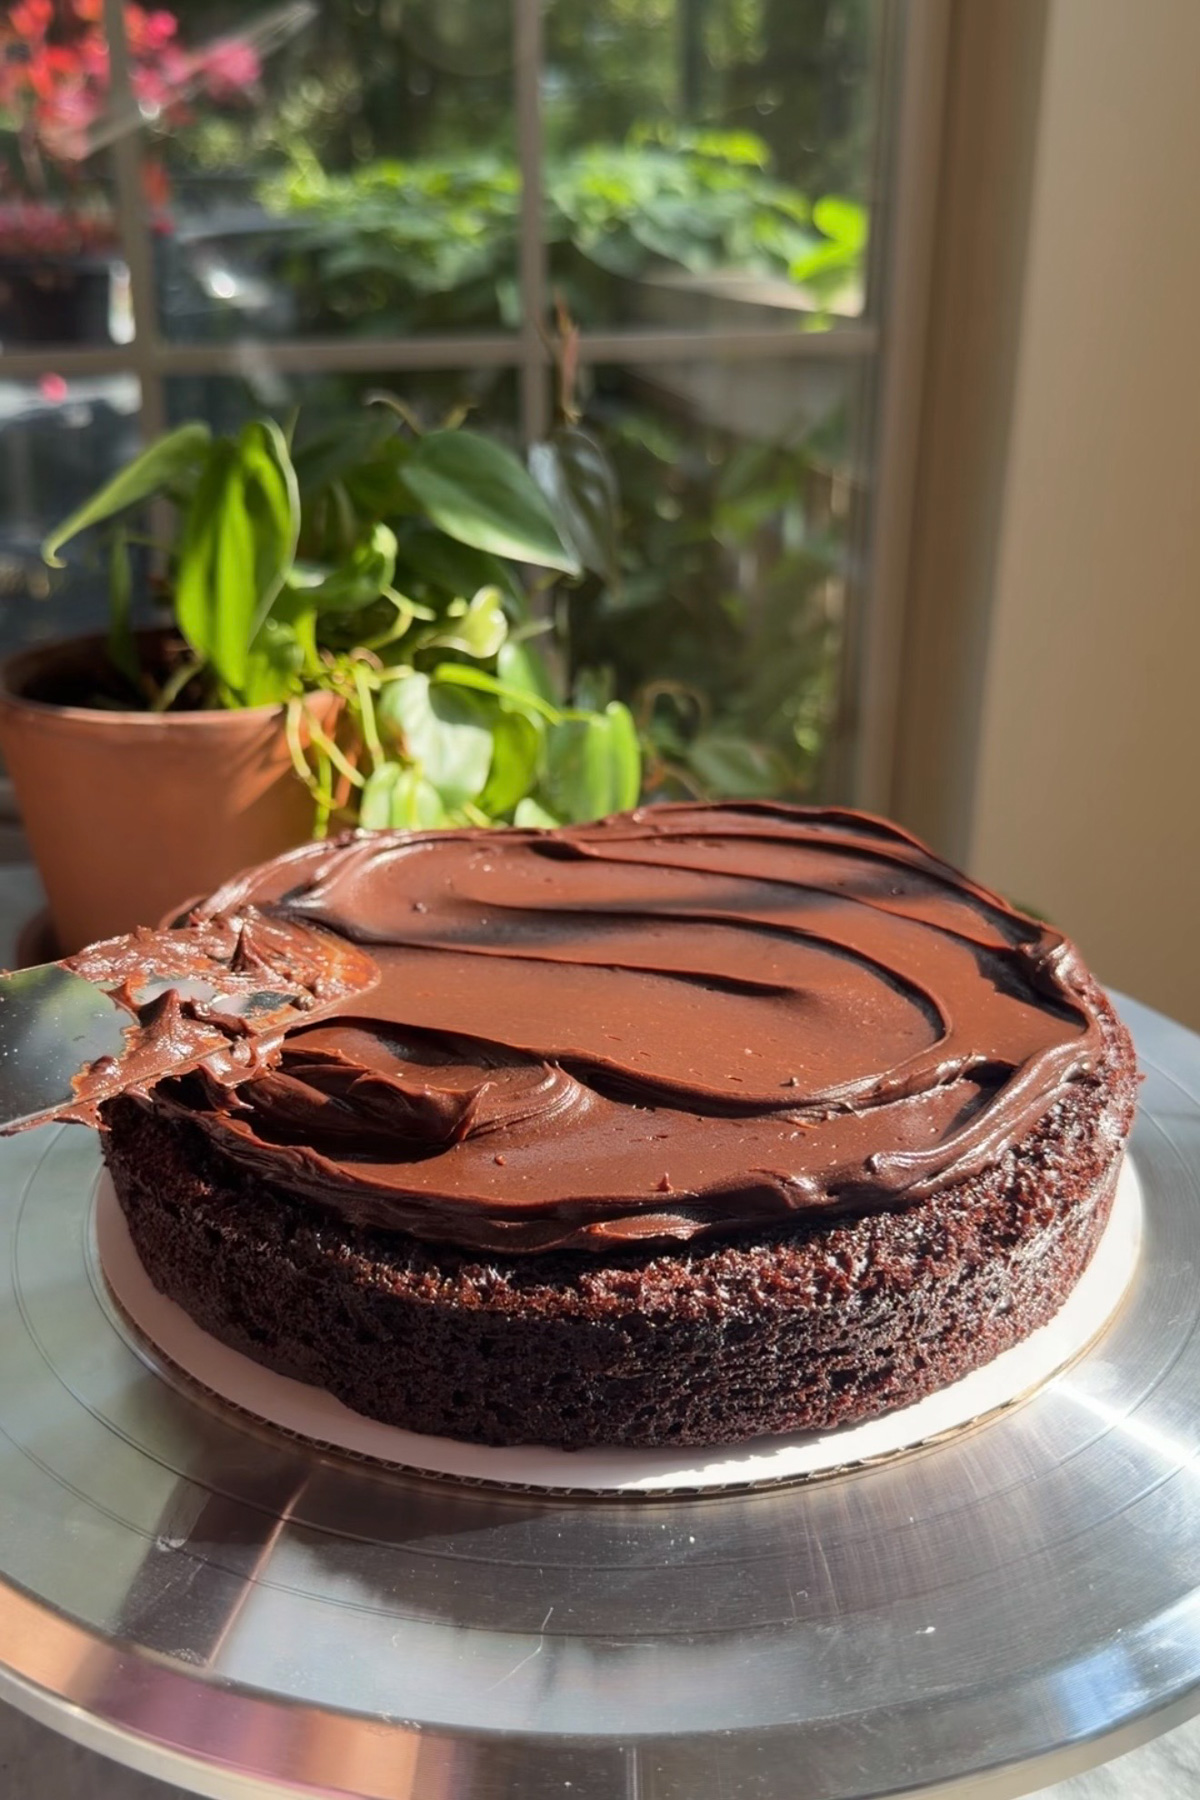
Step 6: Fill, stack, and frost. Place one completely cooled cake layer on a cake board or serving plate and spread with a generous layer of frosting. Add the second layer, spread with another generous layer, and top with the final layer.
Cover the top and sides generously with the remaining frosting, then use an offset spatula or the back of a spoon to create large, dramatic swoops and swirls for that thick, decadent, Matilda-style finish.
Weigh your ingredients! Using a kitchen scale ensures your measurements are accurate, which is key for getting consistent results in baking. It takes the guesswork out of measuring and helps your recipes turn out exactly as intended every time.
Expert Tips
- Weigh the flour and cocoa. Scooped flour packs down and can throw off the whole crumb — a kitchen scale keeps every layer even and tender.
- Don't skip the hot coffee. It blooms the cocoa and deepens the chocolate flavor dramatically without tasting like coffee. If you're avoiding caffeine, hot water works, but you'll lose a little of that depth.
- Pull the cakes early rather than late. For the moistest crumb, take the layers out when a toothpick shows a few moist crumbs, not a completely clean one — they'll finish setting as they cool.
- Give the frosting real time to cool. It starts out quite fluid and will look far too thin to frost with. Be patient — it thickens dramatically as it approaches room temperature, the same way the frosting behaves in my chocolate sheet cake with chocolate cream cheese frosting.
- Chop your own chocolate. Chocolate bars melt into a smoother, glossier frosting than chips, which contain stabilizers that resist melting cleanly — the same reason I always reach for a block of chocolate over the pre-chopped bag.
What Makes This Recipe Special?
I watched Matilda more times than I can count as a kid, and that towering, impossibly chocolatey cake always stuck with me, and I promised myself I'd make a version of it one day. This past birthday finally felt like the right occasion, and it did not disappoint. It's my homage to the (fictionally) enormous chocolate cake from the movie, scaled down to something you can actually make on a Tuesday and still finish in a normal amount of time.
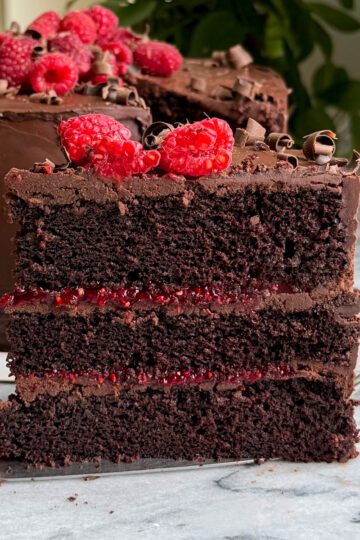
The technical backbone is a moist, oil-based chocolate cake batter built on buttermilk and full-fat sour cream instead of butter, which is what keeps it so tender days after baking, similar to the approach behind my dark chocolate raspberry cake. The hot coffee is doing quiet, essential work too — it blooms the cocoa so the chocolate flavor reads as deeper and more complex without ever tasting like a coffee cake.
The frosting is where this one really sets itself apart. Instead of a quick ganache or a whipped American buttercream, this is a proper cooked fudge frosting: butter, cream, cocoa, and sugar simmered together on the stovetop, then poured over chopped chocolate and whisked smooth. It sets up denser and more matte than a standard ganache, which is exactly what lets it hold those big, thick, storybook-style swoops instead of sliding down the sides.
Chocolate Matilda Cake FAQs
Yes. The cake layers can be baked one day in advance; wrap them tightly once completely cool and store at room temperature. The frosting can also be made a day ahead; let it come back to a spreadable consistency at room temperature before frosting, stirring occasionally.
It just needs more time. The frosting starts out quite fluid straight off the stove and thickens considerably as it cools to room temperature — this can take 1–2 hours depending on your kitchen. Resist the urge to frost too early.
No, but it's worth it. The coffee doesn't add coffee flavor — it deepens the chocolate. If you'd rather skip it, use hot water in its place, though the chocolate flavor will be slightly less intense.
Yes — this batter works beautifully as cupcakes. Fill liners about two-thirds full and bake at 350°F for about 18–20 minutes, similar to the timing in my sourdough chocolate cupcakes.
Absolutely. Divide the batter between two 9-inch pans and add a few extra minutes to the bake time. You'll have plenty of extra frosting either way.
Good-quality semisweet chocolate around 55–65% cacao gives the most balanced, rich flavor without tipping into bitter. Chop chocolate bars rather than using chips for the smoothest melt.
Matilda Cake Troubleshooting Guide
| Problem | Cause | Fix |
|---|---|---|
| Frosting is too thin to spread | Not cooled long enough | Let it sit at room temperature, stirring occasionally, until thick and spreadable — up to 2 hours |
| Frosting is grainy or seized | Cream mixture wasn't hot enough, or chocolate was stirred too soon | Bring the cream mixture to a full 175–185°F before pouring; let it sit 2–3 minutes undisturbed before whisking |
| Cake layers are dry | Overbaked, or flour/cocoa were scooped instead of weighed | Pull the cakes as soon as a toothpick shows a few moist crumbs, and weigh your dry ingredients |
| Cake layers domed or cracked | Oven ran hot, or batter overmixed | Check your oven temperature with a separate thermometer and whisk just until smooth |
| Layers slid apart during assembly | Cakes weren't completely cool, or frosting was too thin | Cool layers fully before stacking, and make sure the frosting has thickened before spreading |
| Cake tastes flat | Skipped the coffee, or under-salted | Don't skip the hot coffee — it's doing real flavor work — and don't leave out the salt in either the cake or frosting |
Storage
- Refrigerator: Store the assembled cake covered in the refrigerator for up to 4 days.
- Before serving: For the best texture and flavor, let slices sit out for 20–30 minutes before serving so the frosting softens and the crumb loses its chill.
- Freezer: Unfrosted cake layers freeze beautifully wrapped tightly in plastic wrap for up to 1 month; thaw at room temperature before frosting.
- Leftover frosting: Keeps in an airtight container in the fridge for about a week — bring it to room temperature and give it a good stir (or a few seconds in the microwave) before using.
Other Chocolate Recipes to Consider


Did you make this recipe?
If you try this recipe, I’d love if you left a quick rating and review below! It really helps support my blog and lets others know how the recipe turned out for you. Also, don't forget to tag me @kneadedthat on Instagram and use the hashtag #kneadedthat so I can see what you made and share it!
Matilda's Chocolate Cake
Equipment
- Digital kitchen scale
- Three 8-inch round cake pans
- Parchment Paper
- Two large mixing bowls
- Whisk
- Medium saucepan
- Large heatproof bowl
- Offset spatula
- Wire cooling rack
Ingredients
Chocolate Cake
- 300 g all-purpose flour 2½ cups
- 100 g Dutch-process cocoa powder 1 cup
- 500 g granulated sugar 2½ cups
- 2 teaspoons baking soda
- 1¼ teaspoons baking powder
- 1 teaspoon fine salt
- 3 large eggs room temperature
- 240 g full-fat sour cream 1 cup, room temperature
- 180 g buttermilk ¾ cup, room temperature
- 180 g neutral oil ¾ cup
- 1 tablespoon vanilla extract
- 240 g hot brewed coffee 1 cup
Chocolate Fudge Frosting
- 425 g semisweet chocolate finely chopped (15 ounces)
- 280 g unsalted butter 1¼ cups
- 450 g heavy cream 1⅞ cups
- 75 g Dutch-process cocoa powder ¾ cup
- 185 g granulated sugar ¾ cup + 3 tablespoons
- 2 teaspoons vanilla extract
- ¾ teaspoon fine salt
Instructions
Make the Chocolate Cake
- Preheat the oven to 350°F (175°C). Grease three 8-inch round cake pans and line the bottoms with parchment paper.
- In a large mixing bowl, whisk together the flour, cocoa powder, granulated sugar, baking soda, baking powder, and salt.300 g all-purpose flour, 100 g Dutch-process cocoa powder, 500 g granulated sugar, 2 teaspoons baking soda, 1¼ teaspoons baking powder, 1 teaspoon fine salt
- In a separate bowl, whisk together the eggs, sour cream, buttermilk, oil, and vanilla until smooth.3 large eggs, 240 g full-fat sour cream, 180 g buttermilk, 180 g neutral oil, 1 tablespoon vanilla extract
- Pour the wet ingredients into the dry ingredients and whisk until mostly combined.
- Slowly pour in the hot coffee while whisking. Continue mixing just until the batter is smooth and evenly combined. The batter will be fairly thin.240 g hot brewed coffee
- Divide the batter evenly between the three prepared cake pans.
- Bake for 30-35 minutes, or until the centers spring back lightly when touched and a toothpick inserted into the center comes out with a few moist crumbs. The internal temp should be around 200 F.
- Allow the cakes to cool in the pans for 10–15 minutes. Turn them out onto wire racks and cool completely before frosting.
Make the Chocolate Fudge Frosting
- Place the finely chopped semisweet chocolate in a large heatproof bowl.425 g semisweet chocolate
- Add the butter, heavy cream, cocoa powder, and granulated sugar to a medium saucepan.280 g unsalted butter, 450 g heavy cream, 75 g Dutch-process cocoa powder, 185 g granulated sugar
- Heat over medium-low heat, whisking frequently, until the butter has completely melted, the cocoa is incorporated, and the sugar has dissolved.
- Continue heating until the mixture reaches approximately 175–185°F (79–85°C). It should be hot and steaming but not vigorously boiling.
- Immediately pour the hot cream mixture over the chopped chocolate. Let stand undisturbed for 2–3 minutes.
- Starting in the center of the bowl, whisk slowly until the chocolate has completely melted and the frosting is smooth and glossy.
- Whisk in the vanilla and salt.2 teaspoons vanilla extract, ¾ teaspoon fine salt
- Allow the frosting to cool at room temperature, stirring occasionally, until thick and spreadable. This can take approximately 1–2 hours depending on the temperature of your kitchen. The frosting will thicken considerably as it cools.
Assemble the Cake
- Place one completely cooled cake layer on a cake board or serving plate.
- Spread a generous layer of chocolate fudge frosting evenly over the top.
- Place the second cake layer on top and spread with another generous layer of frosting.
- Add the final cake layer.
- Cover the top and sides of the cake generously with the remaining chocolate fudge frosting.
- Use an offset spatula or the back of a spoon to create large swoops and swirls in the frosting for a thick, decadent, Matilda-style finish.
- Allow the cake to sit at room temperature for 20–30 minutes before serving if it has been refrigerated.
Leave a Reply