
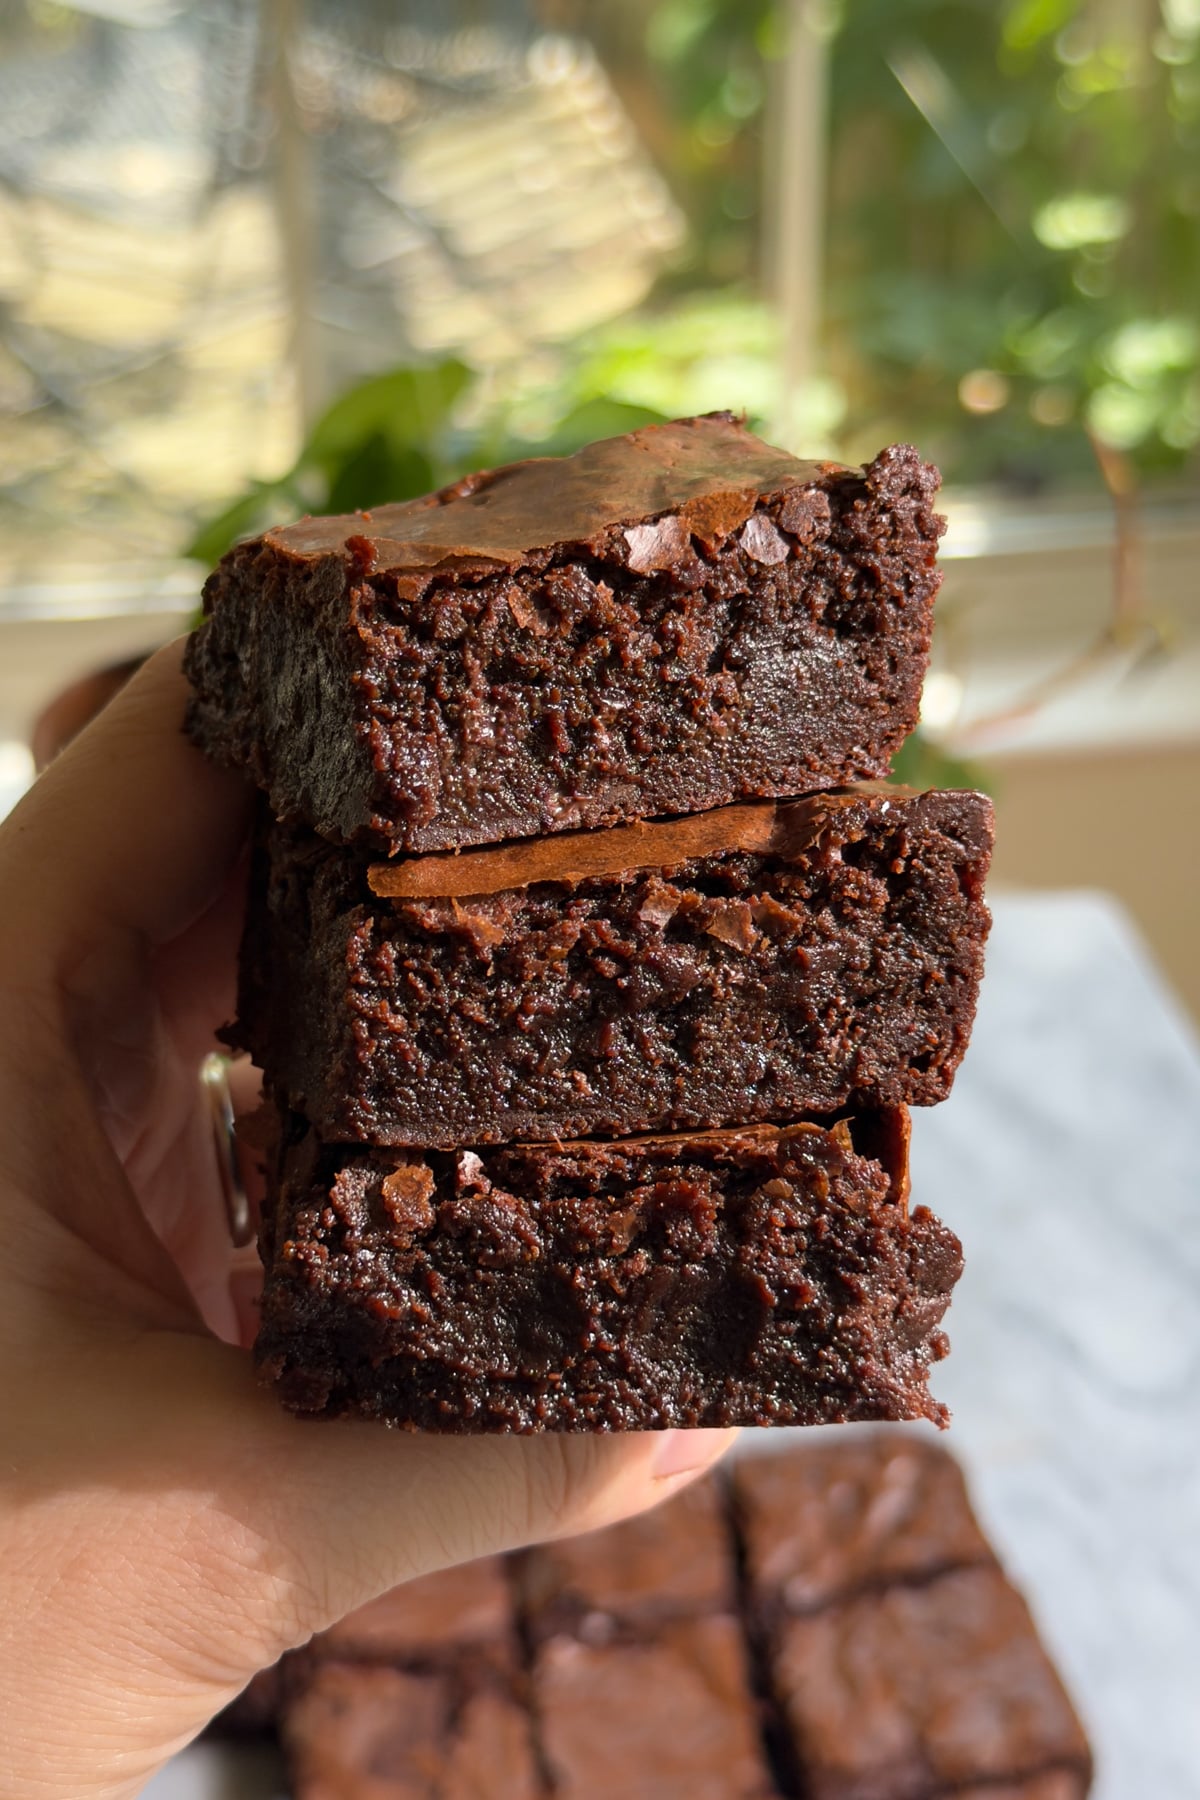
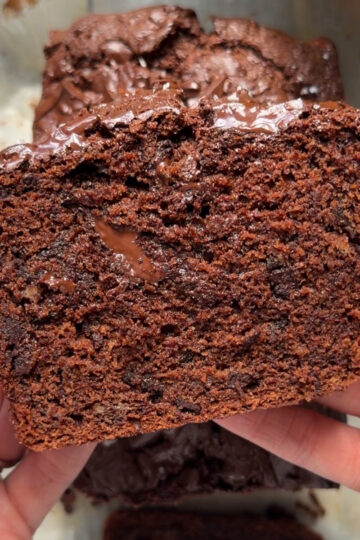
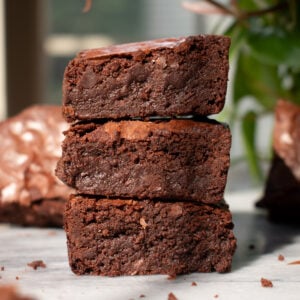
These classic fudgy brownies have a shiny, crackly top, a dense and ultra-fudgy center, and real chocolate flavor from two kinds of chocolate instead of just cocoa powder. This is the brownie recipe I come back to when only the deeply chocolatey, bakery-style version will do.
If you love a good fudgy brownie, you'll also want my fudgy sourdough discard brownies and fudgy zucchini brownies next, and if you're after that same rich chocolate flavor in bar form, my brownie crumb bars are worth a look too.
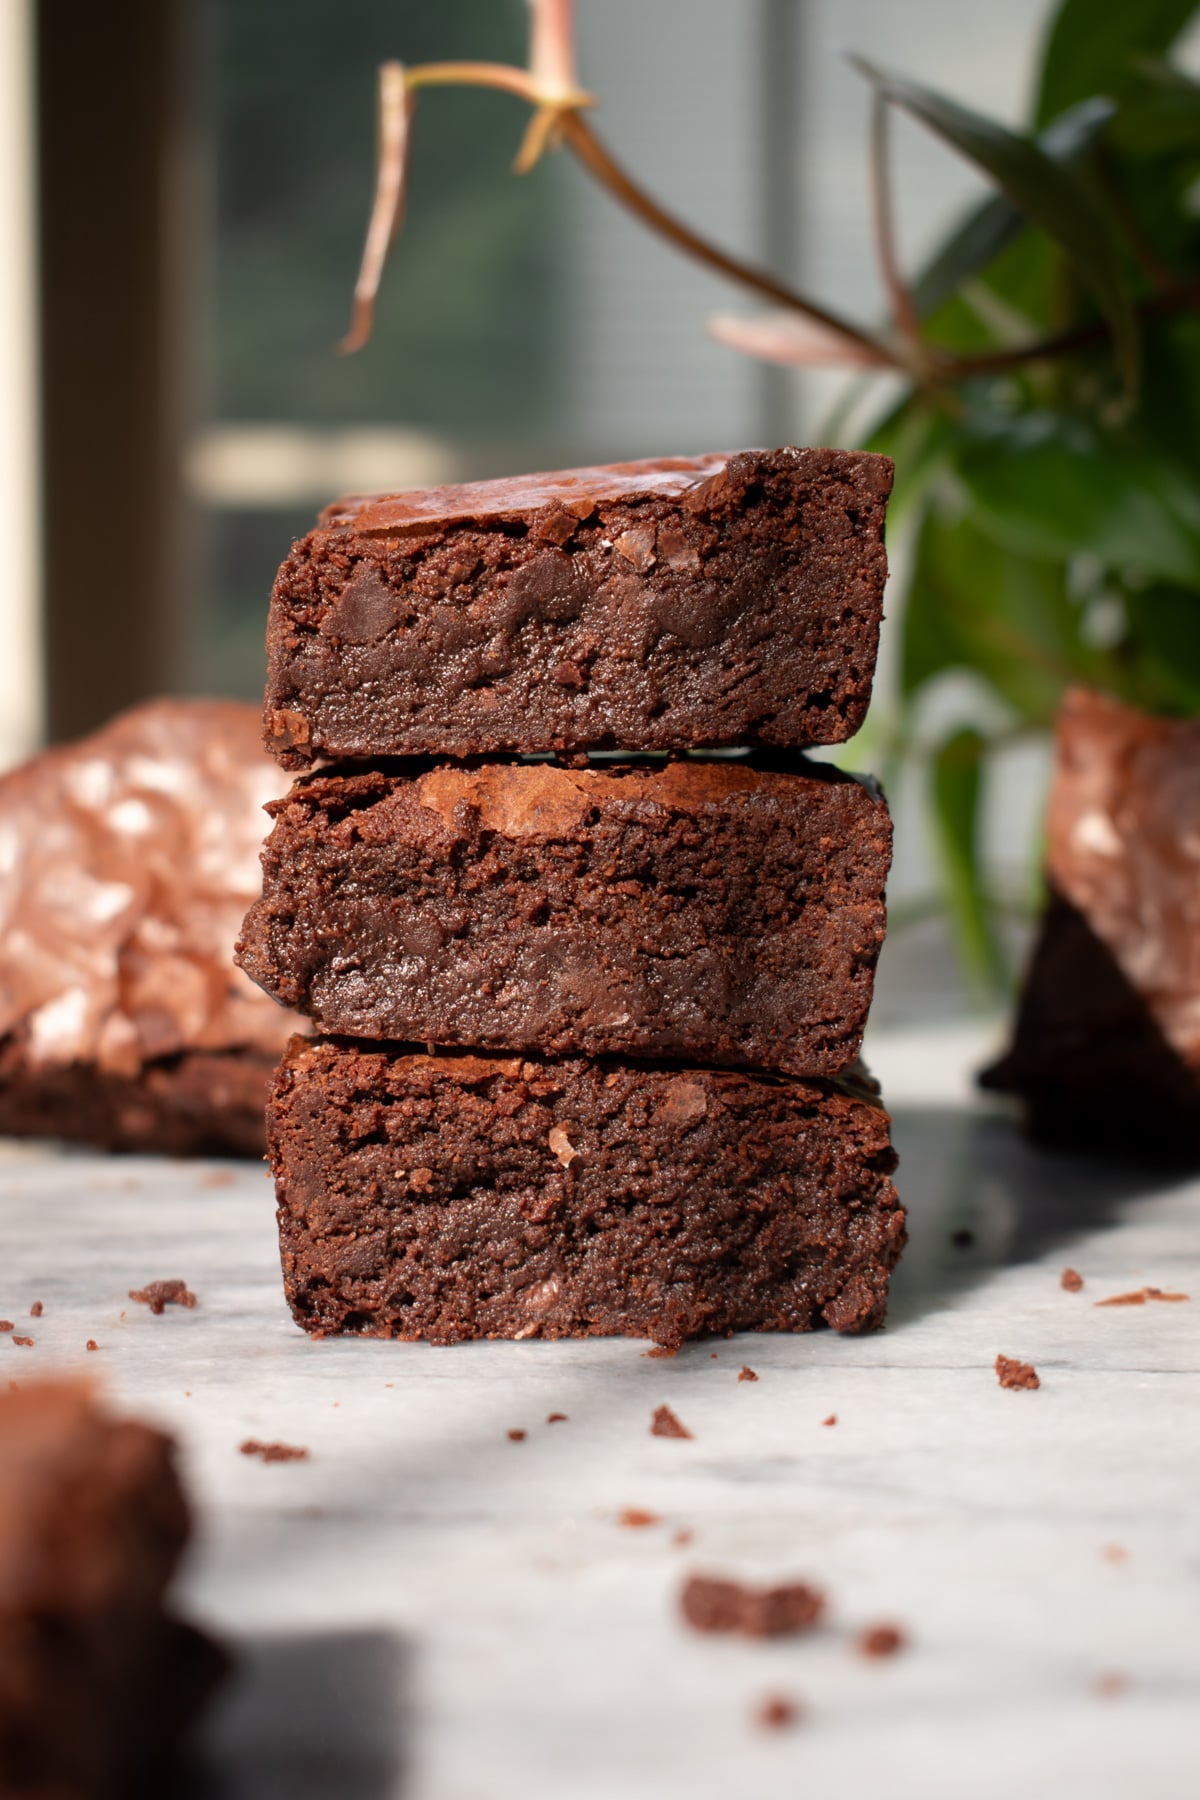
Quick Look: Fudgy Brownies
Ready In: about 2 hours 45 minutes (includes cooling)
Bake Time: 27–33 minutes
Serves: 16 brownies
Calories: 272 per brownie
Main Ingredients: butter, semisweet chocolate, cocoa powder, eggs
Dietary: Vegetarian
Why You'll Love It: A shiny, crackly top over a dense, ultra-fudgy center, with real depth from two kinds of chocolate.
SUMMARIZE & SAVE THIS CONTENT ON
Why you'll love this recipe
- A shiny, crackly top with minimal effort. It comes from dissolving granulated sugar into warm melted chocolate and butter, then whisking the eggs in thoroughly; no special technique or extra egg white required.
- Fudgy, not cakey. A higher ratio of chocolate and butter to flour keeps these dense through and through, closer to the texture of my matilda's chocolate cake frosting than a typical box-mix brownie.
- Two kinds of chocolate for texture and depth. Melted semisweet chocolate plus cocoa powder in the batter, then chocolate chips folded in at the end, give you layered chocolate flavor in every bite.
- A classic worth making. These are the brownies I make when I want something familiar and reliably good, the same way chocolate chip cookies are always the right answer for a simple, crowd-pleasing treat.
Jump to:
Ingredients You'll Need
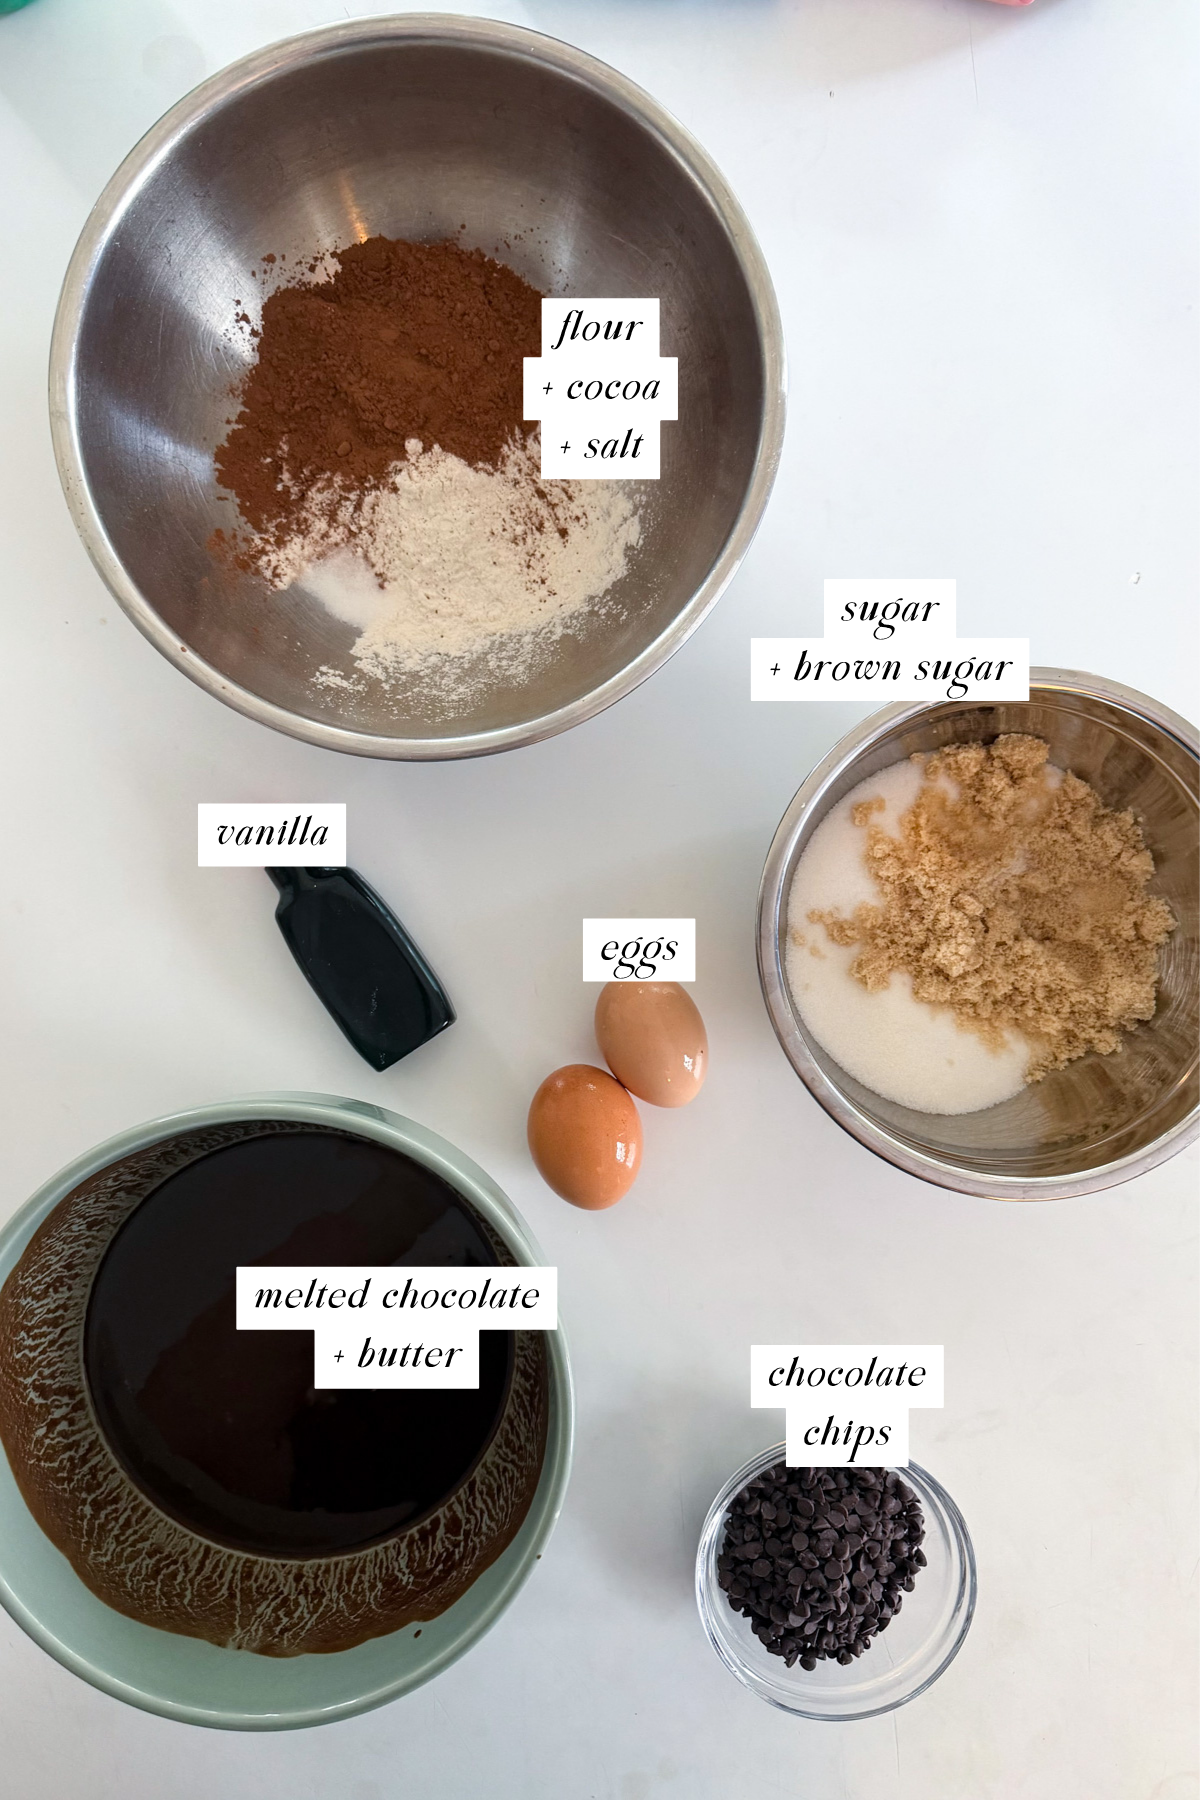
- Unsalted butter and semisweet chocolate: melted together as the base of the batter; this pair is what gives these brownies their deep chocolate flavor and fudgy texture.
- Granulated sugar: the real workhorse behind that shiny, crackly top; it's not the place to cut back.
- Light brown sugar: just enough for moisture and chew, without tipping the balance away from that delicate crust.
- Eggs: whisked in thoroughly until the batter turns glossy and noticeably thicker; that's what gives the crumb its richness.
- Unsweetened cocoa powder: layers in more chocolate flavor alongside the melted chocolate, similar to how I double up on cocoa in my triple chocolate chunk cookies.
- Semisweet chocolate chips: folded in at the end for pockets of melted chocolate throughout.
See recipe card for quantities.
Easy Substitutions & Variations
- Chocolate chip swap: White chocolate or dark chocolate chips both work well in place of semisweet, similar to the swap I use in my white chocolate espresso blondies.
- Add nuts: Fold in ½ cup of chopped walnuts or pecans along with the chocolate chips for texture and crunch.
- Espresso boost: Whisk ½–1 teaspoon of instant espresso powder into the batter along with the vanilla; it won't taste like coffee, just deeper chocolate.
- Sea salt finish: Sprinkle flaky sea salt over the batter right before baking for a sweet and salty finish.
- Bigger pan, thinner brownies: For a 9x13-inch pan, expect a thinner brownie and a shorter bake time; start checking around 20–22 minutes.
How to Make Shiny Brownies
Note: I bake by weight for accuracy. Cup measurements are approximate and may vary depending on how you scoop.
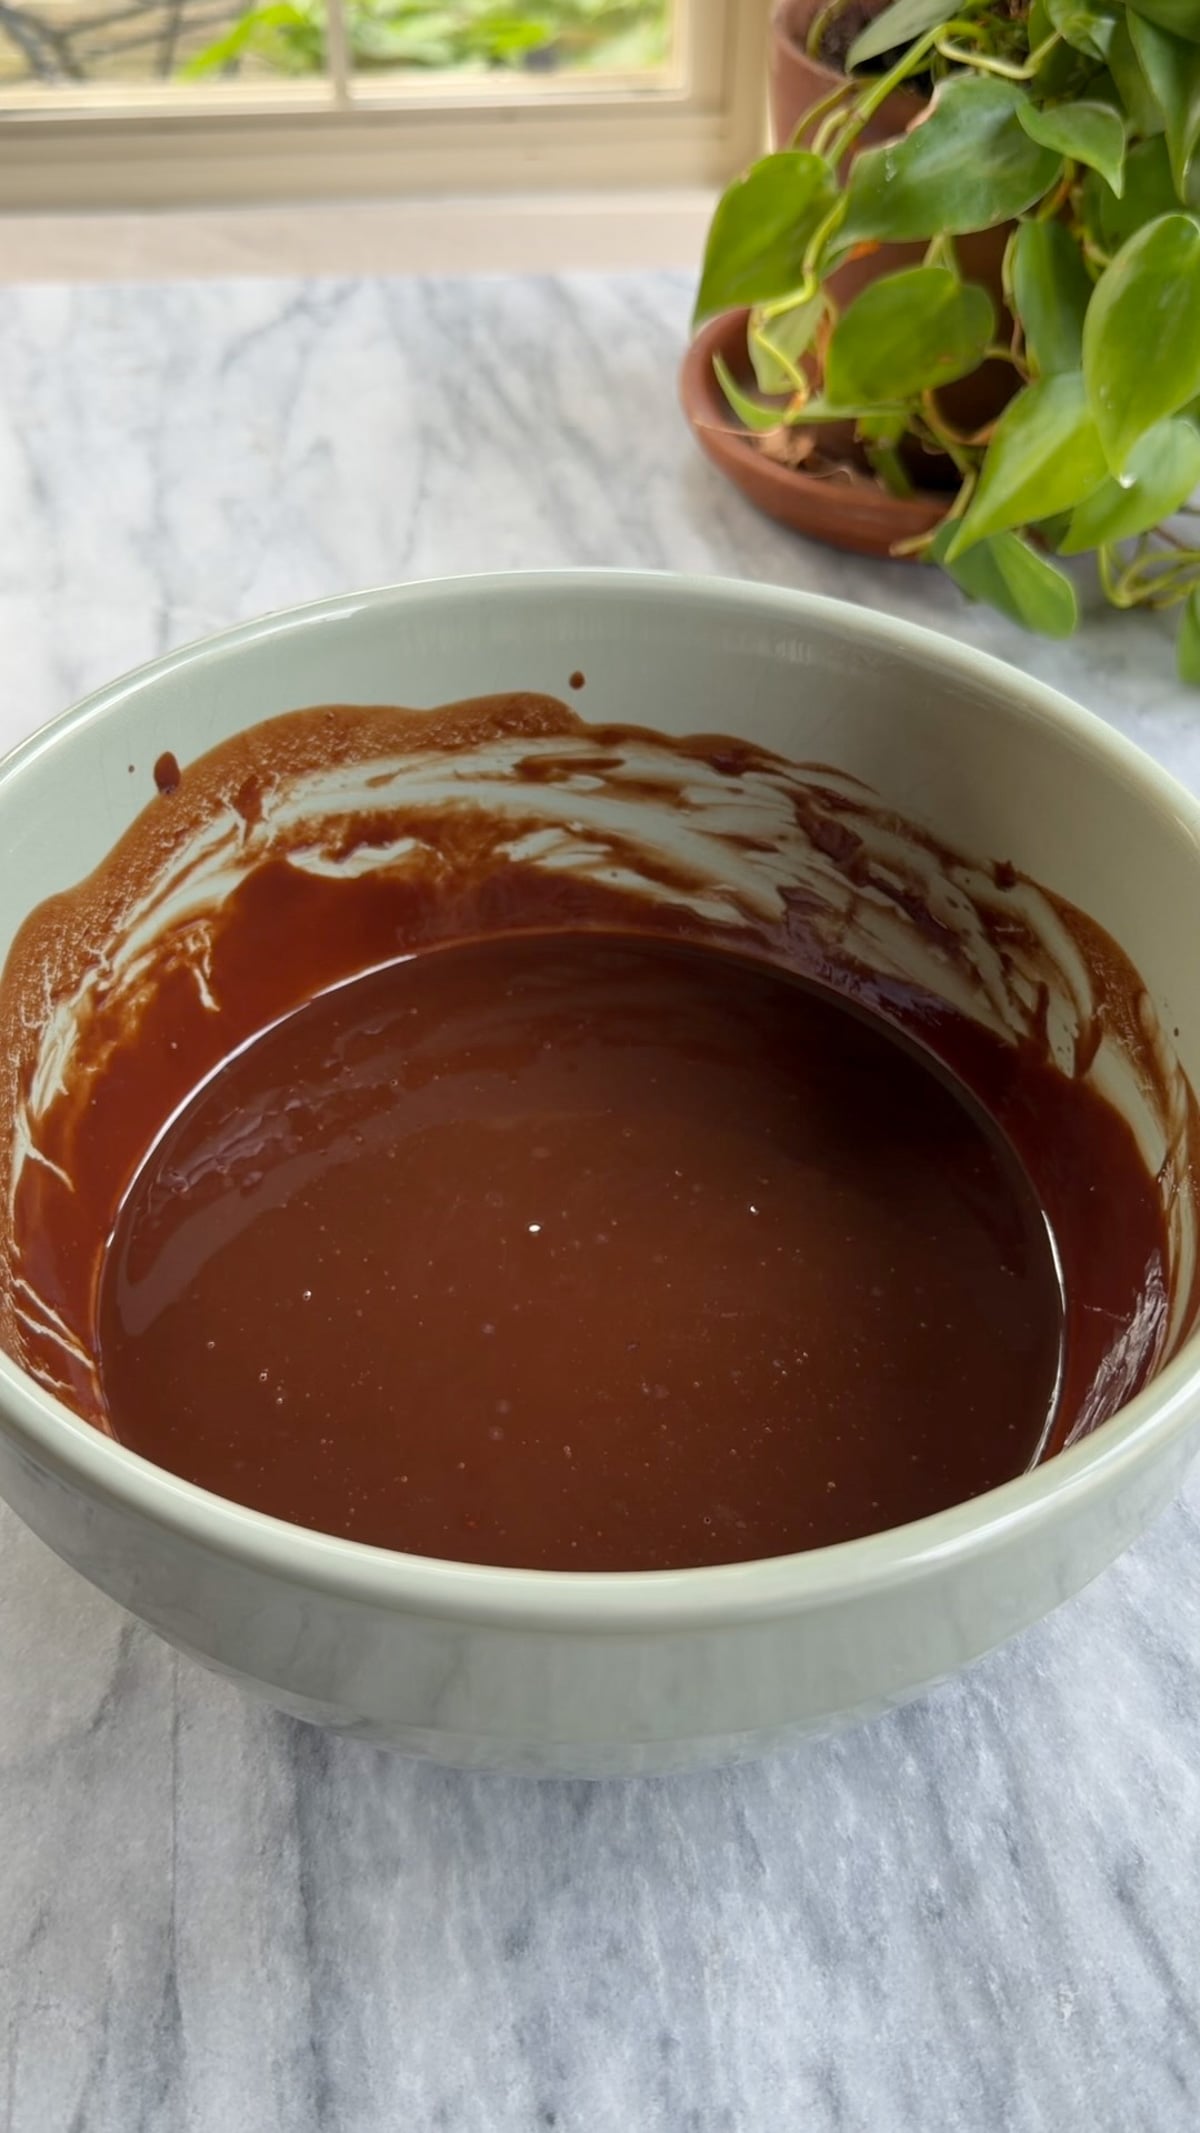
Step 1: Prep the pan and melt the chocolate. Preheat the oven to 350°F. Line an 8x8-inch metal baking pan with parchment paper, leaving overhang for easy removal. Add the butter and chopped semisweet chocolate to a heatproof bowl and microwave in 20–30 second increments, stirring between each, until completely melted and smooth.
Step 2: Dissolve the sugars. While the chocolate mixture is still quite warm, add the granulated sugar and brown sugar and whisk vigorously for about 1 minute. The mixture will still look somewhat grainy, but the warmth helps begin dissolving the sugar, which is important for that shiny top.
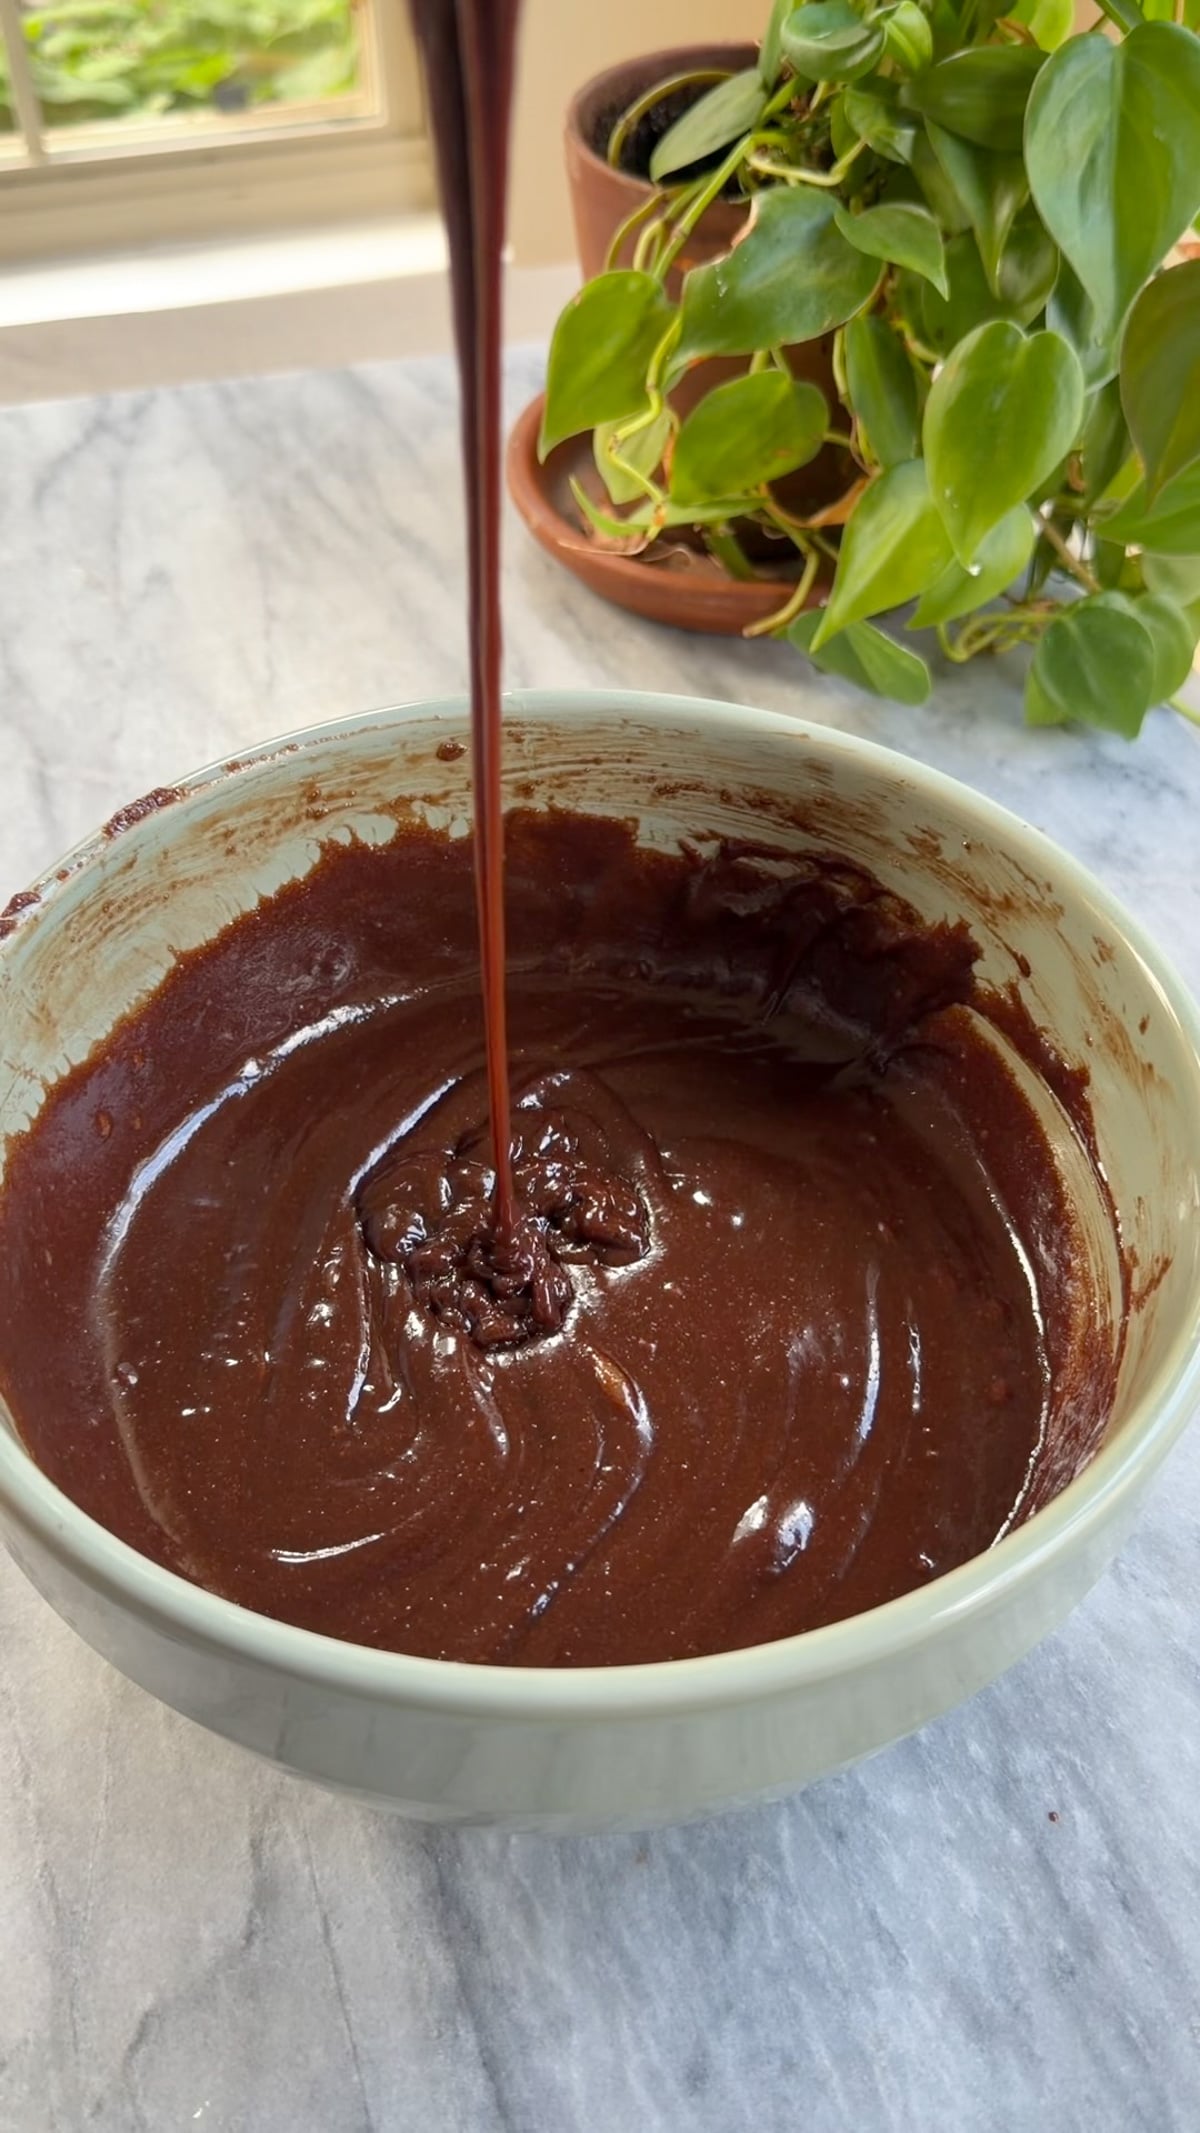
Step 3: Whisk in the eggs. Add the eggs one at a time, whisking very well after each addition. Once incorporated, whisk vigorously for another 1–2 minutes, until the batter looks noticeably thicker, smoother, and glossy. Whisk in the vanilla.
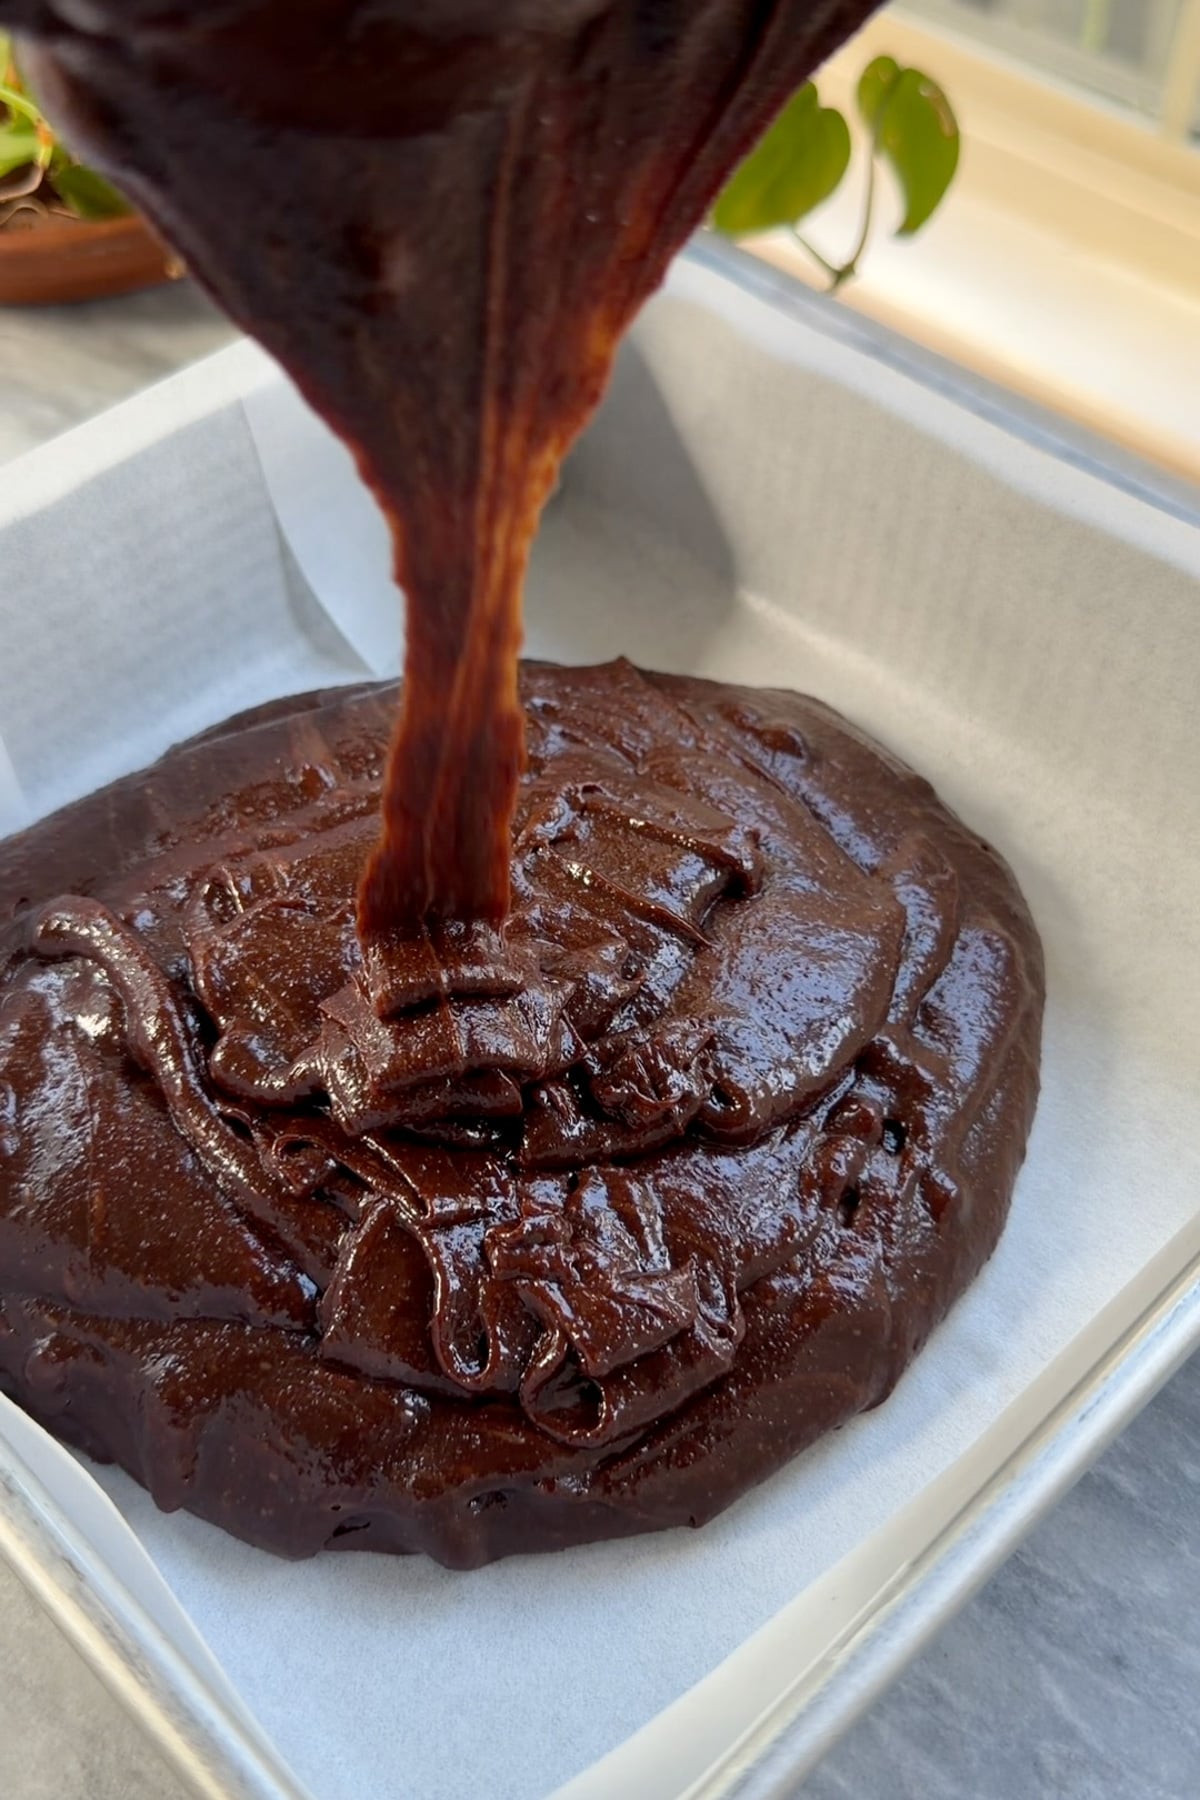
Step 4: Fold in the dry ingredients and chocolate. Sift the flour, cocoa powder, and salt directly over the batter and fold gently just until a few streaks of flour remain, then fold in the chocolate chips just until evenly distributed. Do not overmix.
Step 5: Bake. Spread the batter evenly into the prepared pan. Bake for 27–33 minutes, until the top is shiny and crackled and the edges are set. A toothpick inserted near the center should come out with thick, moist crumbs, not completely clean; baking until the toothpick is dry will cost you that fudgy texture.
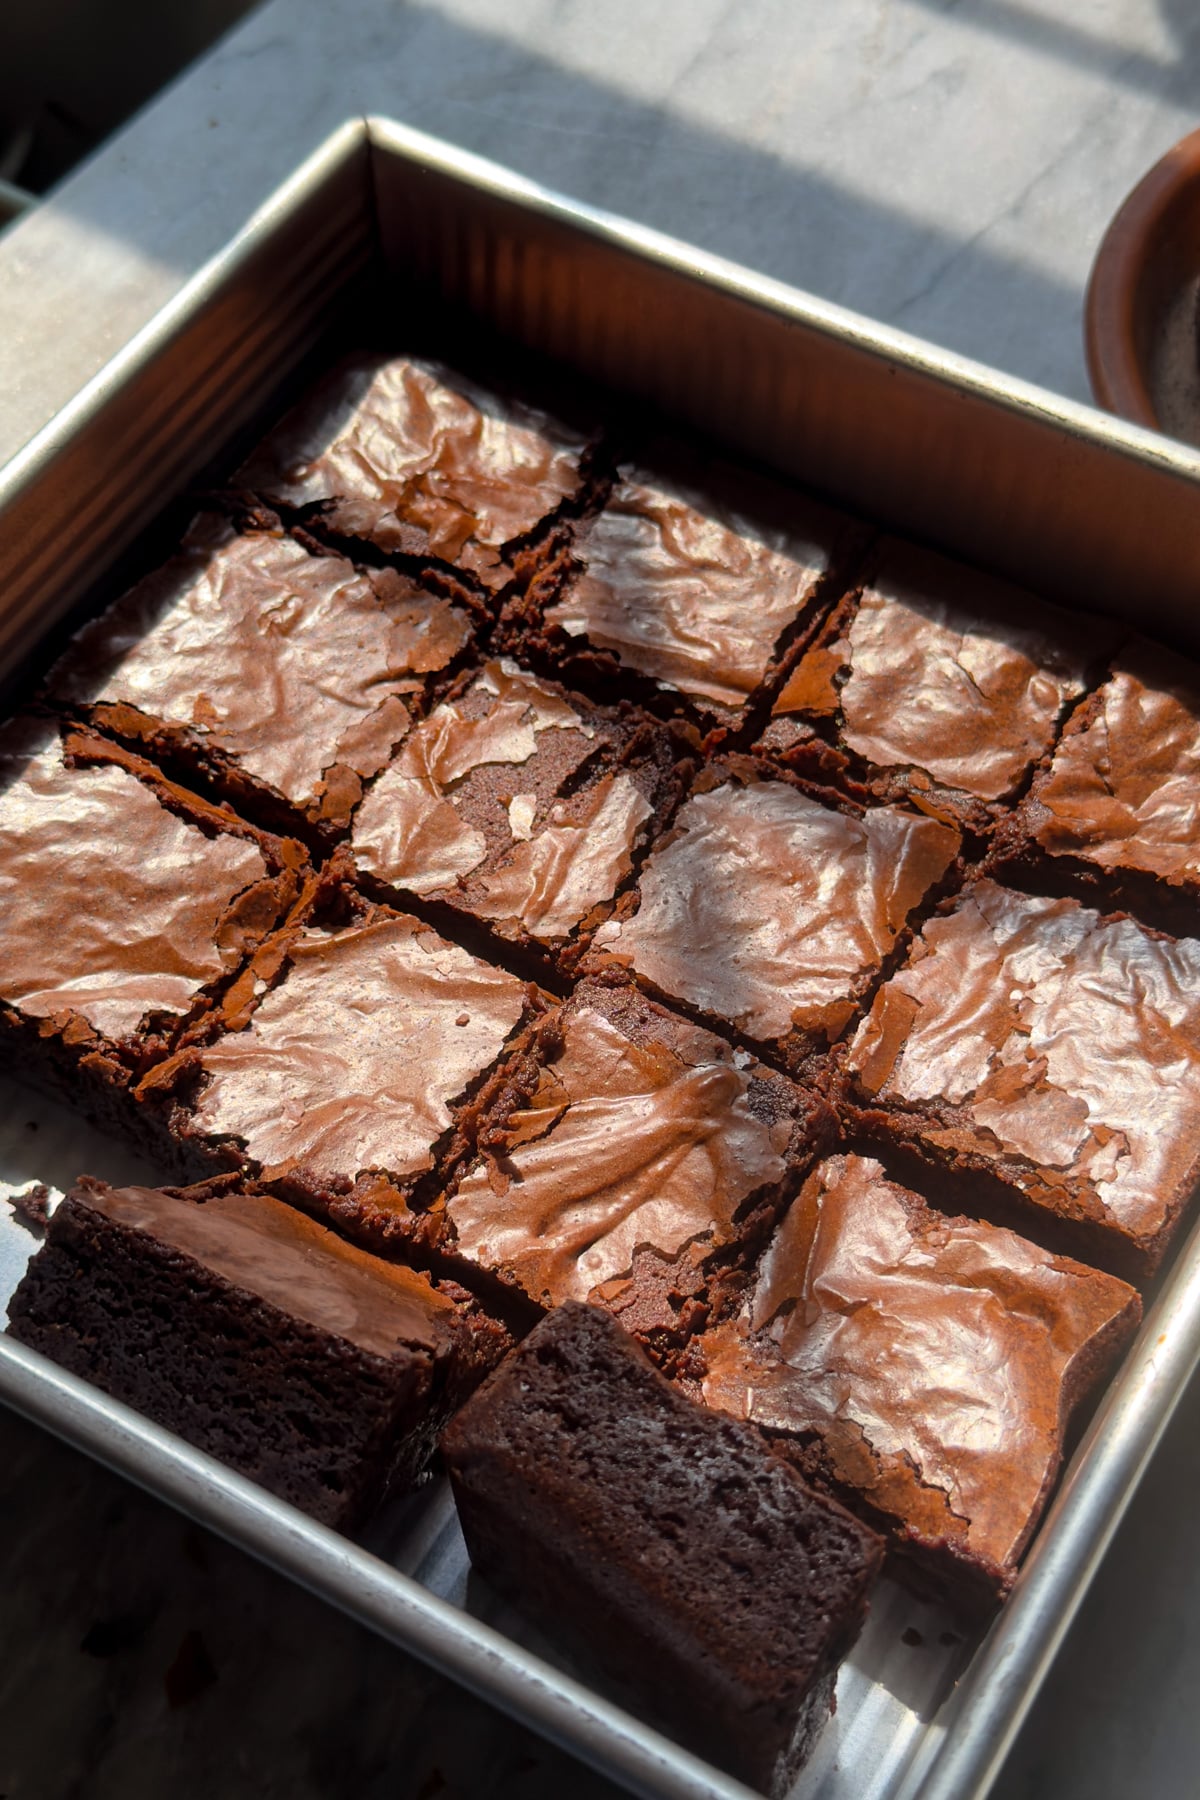
Step 6: Cool completely. Let the brownies cool completely in the pan before lifting them out and slicing. For especially clean slices and an ultra-fudgy texture, cool for at least 2 hours.
Weigh your ingredients! Using a kitchen scale ensures your measurements are accurate, which is key for getting consistent results in baking. It takes the guesswork out of measuring and helps your recipes turn out exactly as intended every time.
Expert Tips
- Don't cut back on the granulated sugar. It's doing most of the work for that shiny, crackly top; the crust forms when dissolved sugar combines with egg proteins and rises to the surface during baking.
- Keep the chocolate mixture warm when the sugar goes in. A warm base helps dissolve more of the sugar right away, which sets you up for a better crust.
- Really whisk the eggs in. You don't need to whip them separately, but the batter should look glossy and noticeably thickened before the flour goes in.
- Don't lean too heavily on brown sugar. It makes brownies wonderfully chewy and moist, but too much works against that delicate crackly crust; this formula favors granulated sugar for a reason, the same balance I rely on for the crinkled top in my sourdough chocolate crinkle cookies.
- Use a metal pan. It conducts heat more evenly than glass or ceramic, which helps the edges and center bake through at the same rate.
What Makes This Recipe Special?
Most brownie recipes ask you to choose between fudgy and that classic shiny, crackly top; this one gives you both. The trick is entirely in the order of operations: dissolving granulated sugar into warm melted butter and chocolate, then whisking the eggs in until the batter turns glossy, sets up the thin, delicate crust on top while the batter underneath stays dense and rich.
Melted semisweet chocolate and cocoa powder both go into the batter, then chocolate chips get folded in at the end, so you get layered chocolate flavor instead of one flat note; it's the same layering approach that makes desserts like my dark chocolate raspberry layer cake taste so intensely chocolatey.
Brownies FAQs
This usually means too much flour, or the toothpick test was taken too far. Weigh your flour rather than scooping it, and pull the brownies as soon as a toothpick shows thick, moist crumbs.
I don't recommend it. The granulated sugar is essential to that shiny, crackly top, and cutting it back will change both the texture and the crust.
You can, but the brownies will be chewier and moister, and you'll lose most of that delicate crackly top; this recipe is built to favor granulated sugar for a reason.
A light-colored metal pan gives the most even, predictable bake. Glass or ceramic pans conduct heat differently and may need a few extra minutes.
Yes. They keep well for several days at room temperature, and the flavor actually deepens a bit after a day, similar to my chocolate sour cream pound cake.
Brownies Troubleshooting Guide
| Problem | Cause | Fix |
|---|---|---|
| No shiny, crackly top | Sugar added when chocolate mixture had cooled, or eggs underwhisked | Add sugar while the chocolate mixture is still warm, and whisk eggs until the batter is glossy |
| Brownies are cakey, not fudgy | Too much flour, or overbaked | Weigh the flour, and pull the brownies when a toothpick shows moist crumbs |
| Brownies are dense but greasy | Butter or chocolate not fully incorporated | Whisk thoroughly at each stage, especially after adding the eggs |
| Edges overbaked before center is set | Glass or ceramic pan used, or oven runs hot | Use a light-colored metal pan and check with an oven thermometer |
| Brownies are hard to slice cleanly | Not cooled long enough | Cool completely, at least 2 hours, before lifting out and slicing |
Storage
- Room temperature: Store in an airtight container at room temperature for up to 4 days.
- Refrigerator: Store in an airtight container in the fridge for up to a week; bring to room temperature before serving for the fudgiest texture.
- Freezer: Wrap individual squares tightly and freeze for up to 3 months; thaw at room temperature.
- Slicing tip: For the cleanest cuts, chill the fully cooled brownies for 30 minutes before slicing, then wipe the knife between cuts.
Other Chocolate Recipes to Consider


Did you make this recipe?
If you try this recipe, I’d love if you left a quick rating and review below! It really helps support my blog and lets others know how the recipe turned out for you. Also, don't forget to tag me @kneadedthat on Instagram and use the hashtag #kneadedthat so I can see what you made and share it!
The Shiniest, Crackliest Fudgy Brownies
Equipment
- Digital kitchen scale
- 8x8-inch metal baking pan
- Parchment Paper
- Large heatproof bowl
- Whisk
- Fine-mesh sieve (for sifting)
- Rubber spatula
Ingredients
- 170 g unsalted butter ¾ cup
- 170 g semisweet chocolate finely chopped (6 oz)
- 250 g granulated sugar 1¼ cups
- 50 g light brown sugar packed (¼ cup)
- 2 large eggs room temperature
- 2 teaspoons vanilla extract
- 75 g all-purpose flour ⅔ cup
- 35 g unsweetened cocoa powder ⅓ cup
- ½ teaspoon fine sea salt
- 85 g semisweet chocolate chips or finely chopped chocolate ½ cup
Instructions
- Preheat the oven to 350°F. Line an 8x8-inch metal baking pan with parchment paper, leaving some overhang for easy removal.
- Add the butter and chopped semisweet chocolate to a heatproof bowl. Microwave in 20–30 second increments, stirring between each, until completely melted and smooth.170 g unsalted butter, 170 g semisweet chocolate
- While the chocolate mixture is still quite warm, add the granulated sugar and brown sugar. Whisk vigorously for about 1 minute. The mixture will still look somewhat grainy, but the warmth helps begin dissolving the sugar, which is important for that shiny top.250 g granulated sugar, 50 g light brown sugar
- Add the eggs one at a time, whisking very well after each addition. Once all the eggs are incorporated, whisk vigorously for another 1–2 minutes, until the batter looks noticeably thicker, smoother, and glossy. Whisk in the vanilla.2 large eggs, 2 teaspoons vanilla extract
- Sift the flour, cocoa powder, and salt directly over the batter. Fold gently with a rubber spatula just until only a few streaks of flour remain.75 g all-purpose flour, 35 g unsweetened cocoa powder, ½ teaspoon fine sea salt
- Fold in the chocolate chips or chopped chocolate just until evenly distributed. Do not overmix.85 g semisweet chocolate chips or finely chopped chocolate
- Spread the batter evenly into the prepared pan. Bake for 27–33 minutes, until the top is shiny and crackled and the edges are set. A toothpick inserted near the center should come out with thick, moist crumbs, not completely clean. Avoid baking until the toothpick is dry or the brownies will lose that fudgy texture.
- Allow the brownies to cool completely in the pan before lifting them out and slicing. For especially clean slices and an ultra-fudgy texture, let them cool for at least 2 hours.

Leave a Reply